On 9 November 2026, OneKey officially launched the OneKey Neo. The little brother of the recently released OneKey Pro 2 joins the current range alongside the Classic 1S and Classic 1S Pure. It inherits the same large touchscreen and battery capacity as its bigger brother, but leaves out the built-in camera, fingerprint reader and Apple Find My location feature.
Choosing a hardware wallet, a physical device for managing your crypto keys, also means choosing how you will check your next transactions. A comfortable, easy-to-read screen helps you check an address and the details of an operation. Your choice will naturally depend on how you use it, but also on how much the amounts involved represent within your overall holdings.
The Neo's positioning looks interesting to me: it keeps the comfort of the large screen and many of the Pro 2's capabilities, while making a few compromises to keep the price down. So, what is it like once it comes out of the box? What do you actually lose compared with the Pro 2? And how does it stack up against the competition?
Disclosure: CryptKi received the device used for this article. The OneKey links in the text are affiliate links. CryptKi retains full editorial freedom over its articles and the opinions expressed. The aim remains to help you understand the product and decide whether it suits your needs.
The advertised specifications
| Listed price | US$179, before any additional charges or currency conversion |
|---|---|
| Dimensions and weight | 84.9 × 53.2 × 6.1 mm; 48 g |
| Materials | Anodised aluminium frame, fibreglass back |
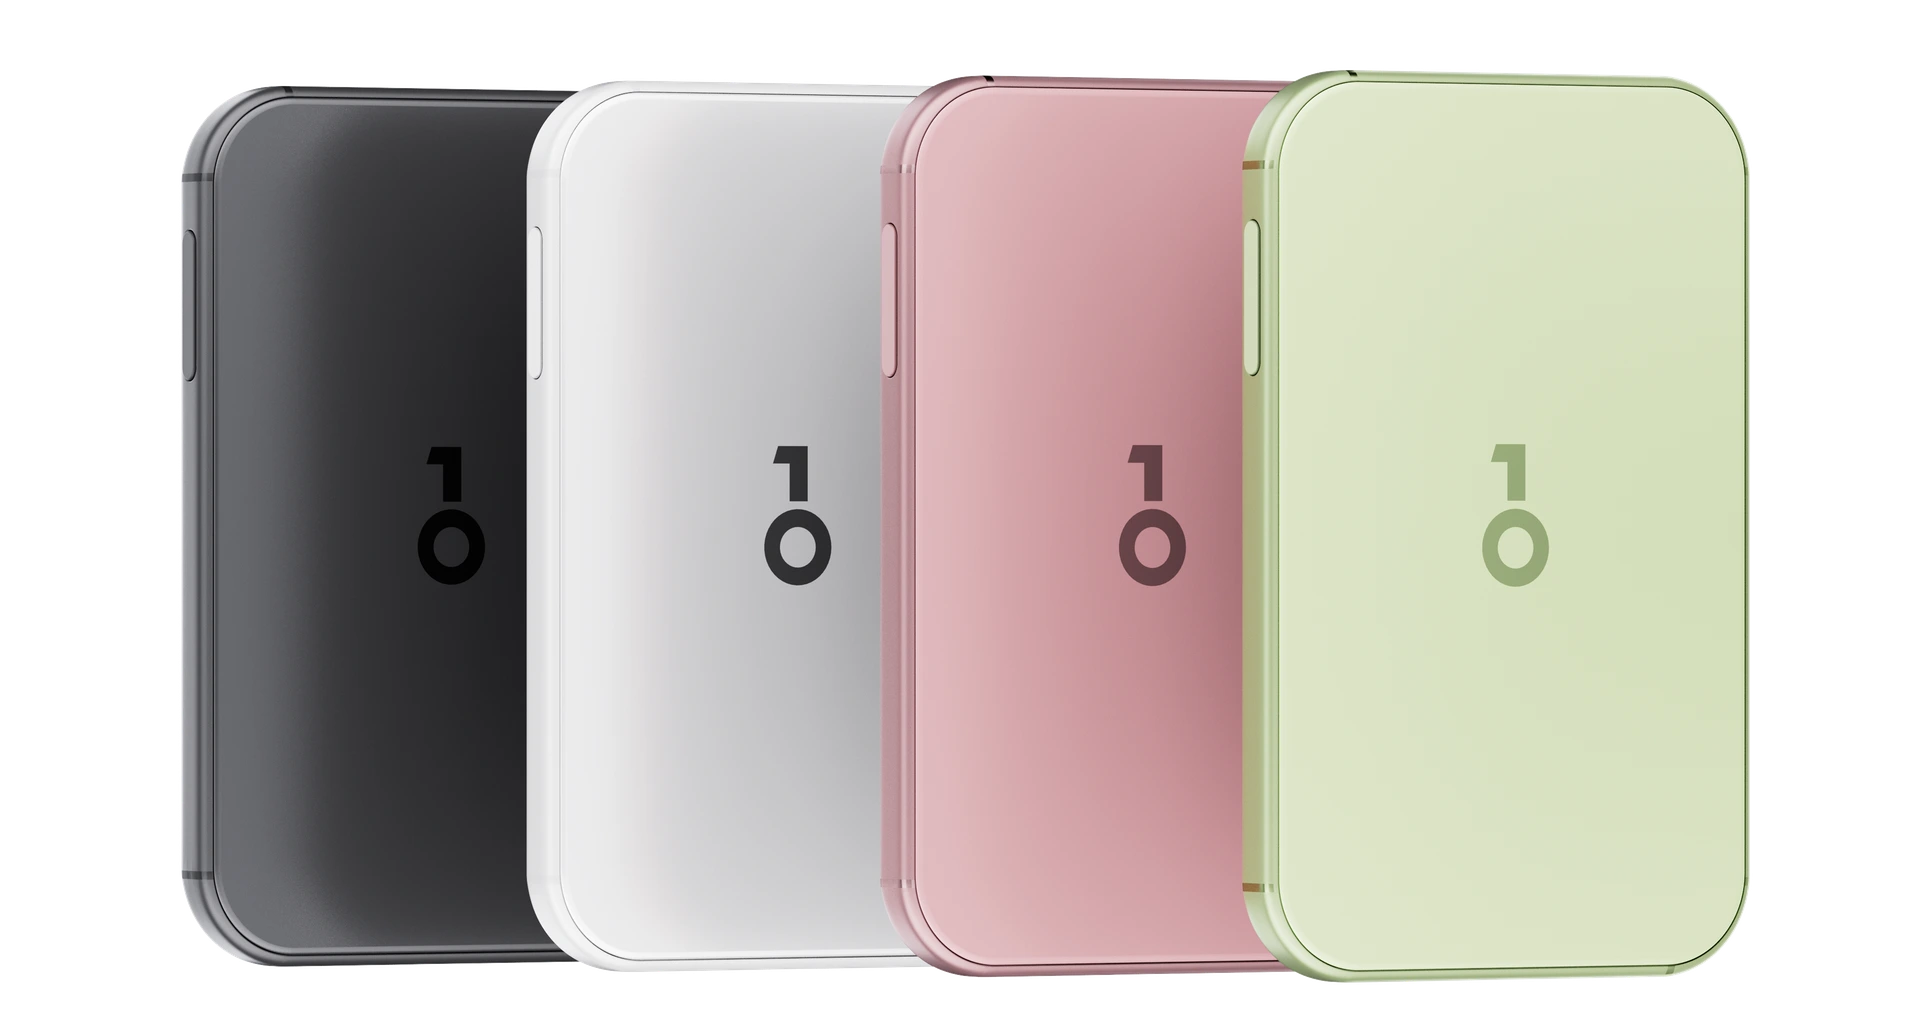
| Colours | Mist Black, Cloud White, Blossom Pink, Moss Green |
| Screen | 3.54-inch AMOLED touchscreen, 1024 × 604 pixels, up to 800 nits |
| Protection | Corning Gorilla Glass 5; IP56 rating |
| Sound and vibration | Speaker; haptic feedback |
| Battery | 700 mAh; USB-C or wireless charging |
| Connections | USB-C, Bluetooth; NFC notably for SeedCard |
| Advertised compatibility | Windows 10+, macOS 10.11+, Ubuntu 12.04+, Fedora 21+, Debian 8+, iOS 14.0+, Android 8.0+ |
| Hardware security | Two THD89 secure elements, advertised as EAL6+ |
| Backup | 12-, 18- or 24-word seed phrase offered in the menu I checked; 20-word SLIP-39 shares; SeedCard compatible according to OneKey |
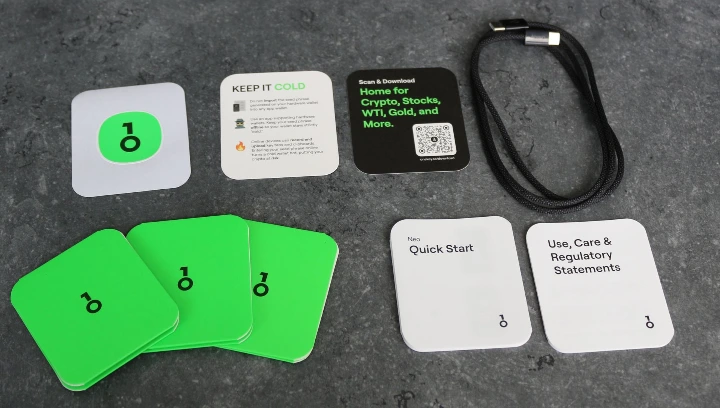
| Box contents | Neo, USB-C to USB-C cable, three recovery sheets, quick-start guide, leaflets, OneKey sticker and small information cards |
| Accessories sold separately | SeedCard: US$39; silicone case: US$39; screen protector: US$19 |
Sources: official Neo product page and Buy the OneKey Neo. The specifications come from OneKey; I checked the box contents and menu options on my own unit.
First impressions
From the outside, the box looks well presented: matt black, white and silver lettering, and a raised image of the product.
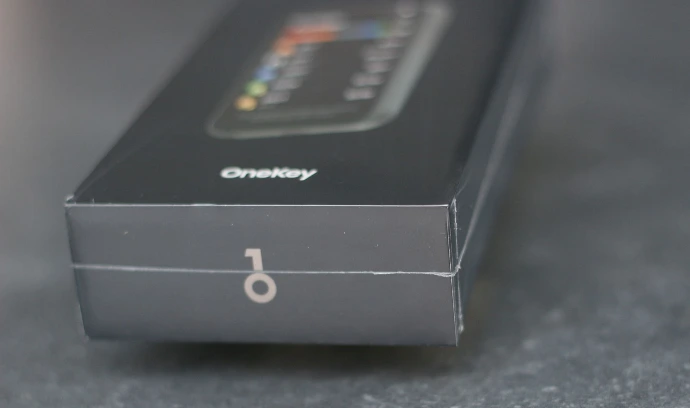
It is wrapped in plastic film and sealed with two paper stickers that you have to tear when opening it for the first time.
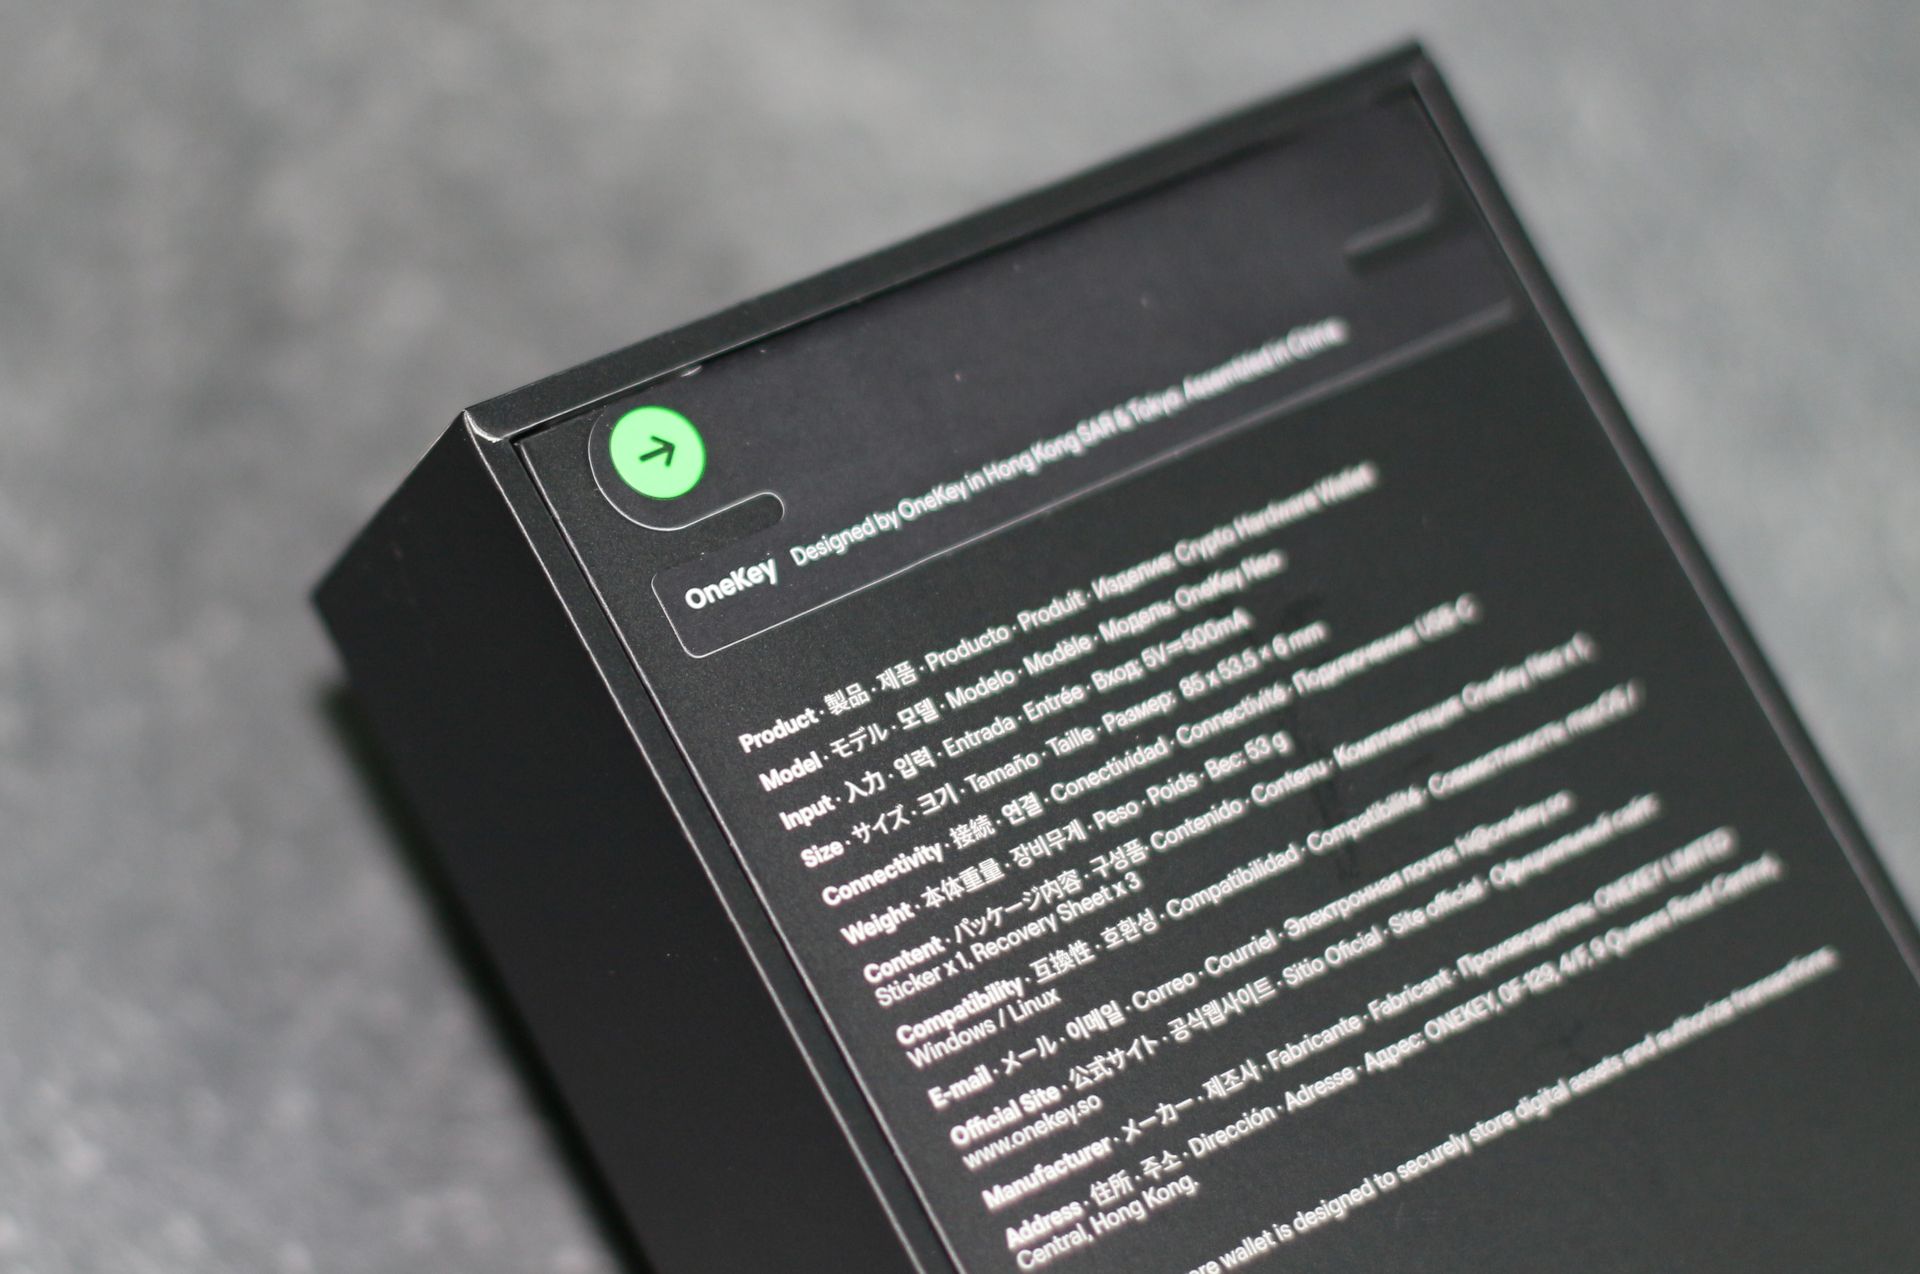
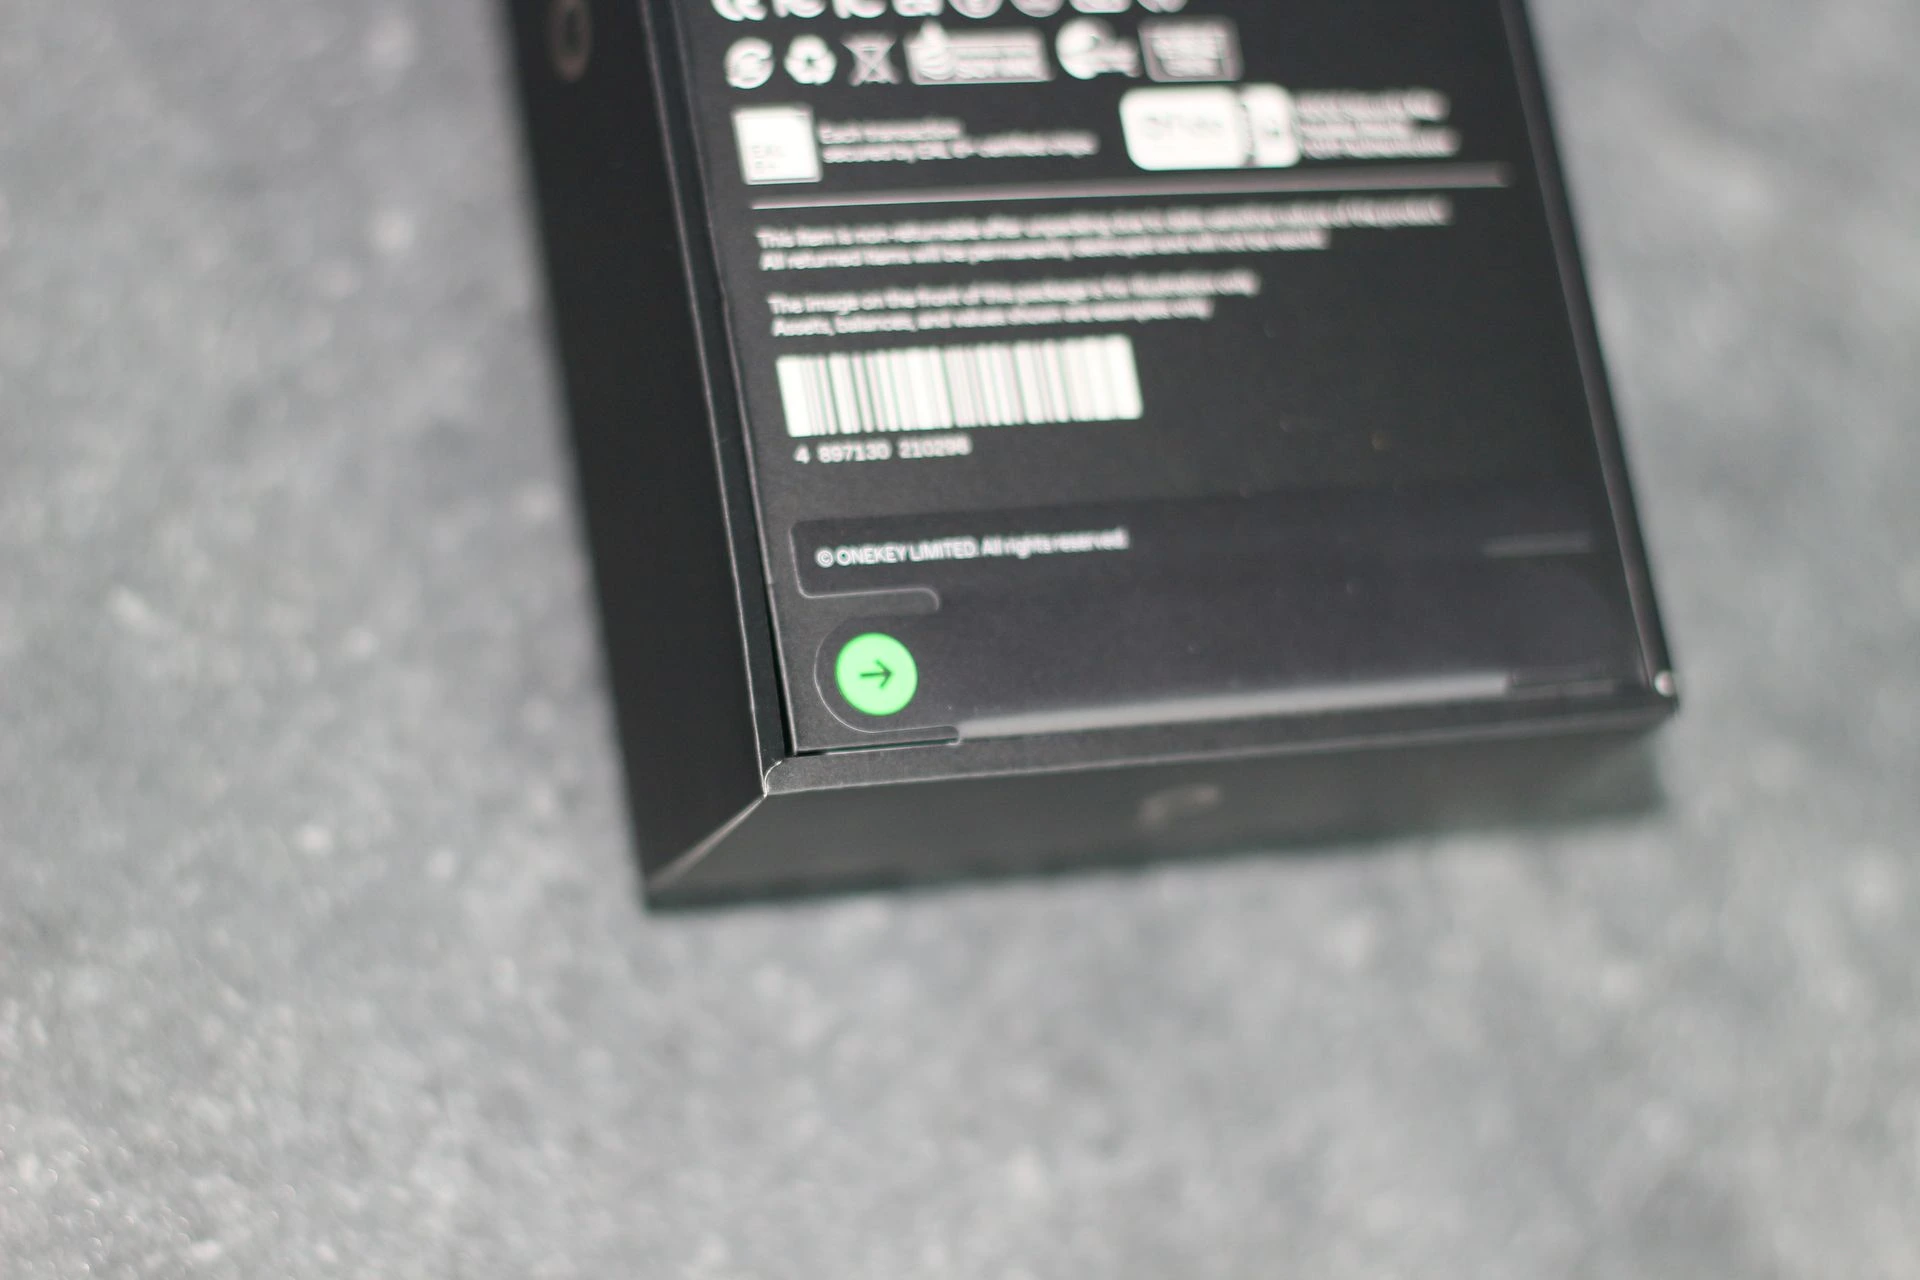
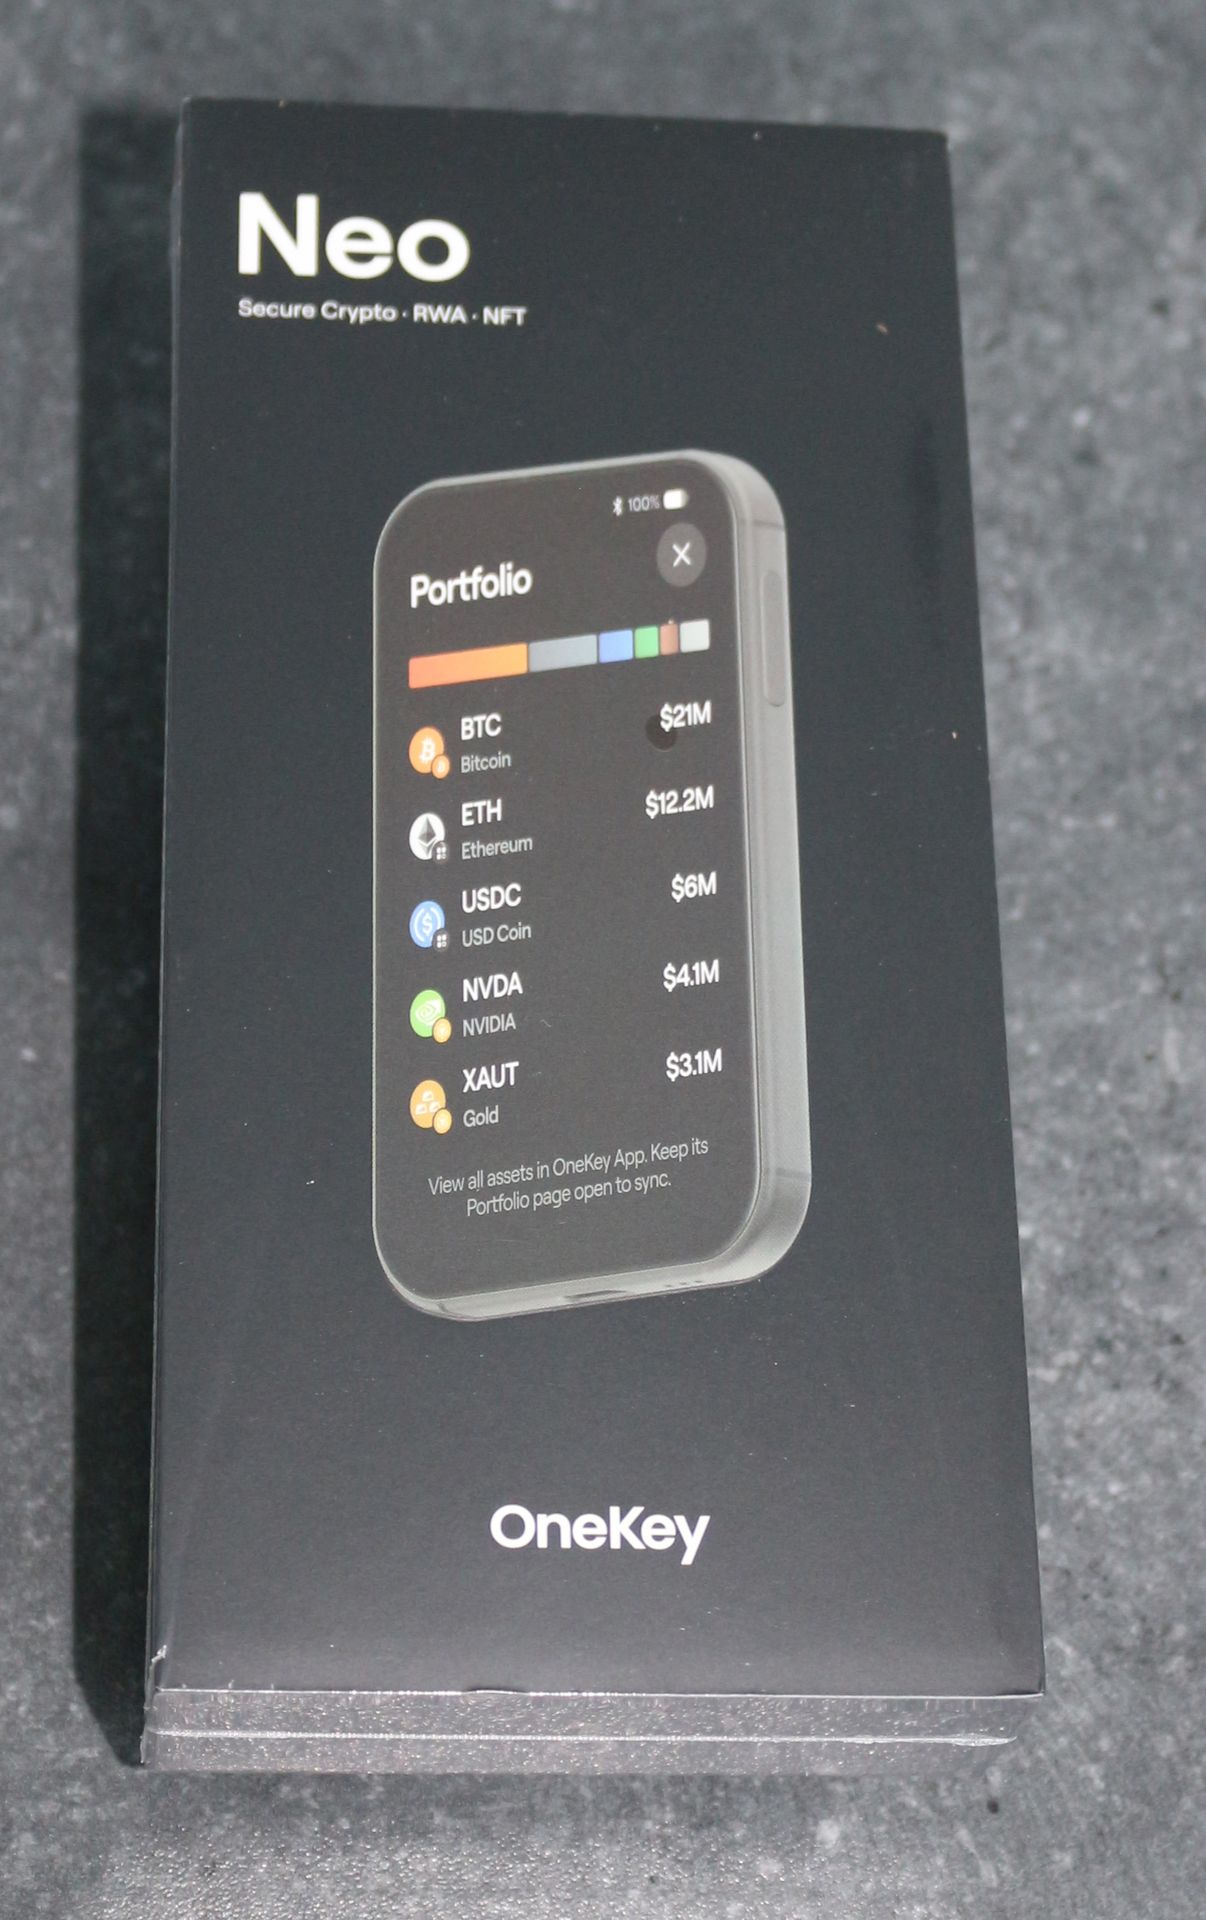
Check their condition when your device arrives. That alone does not guarantee that the device has never been tampered with, but it is an easy first check before running the verification offered by the app.
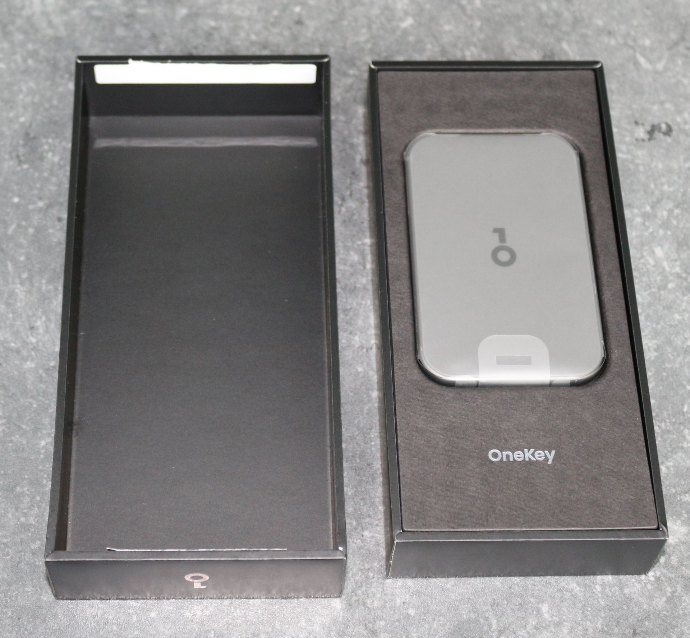
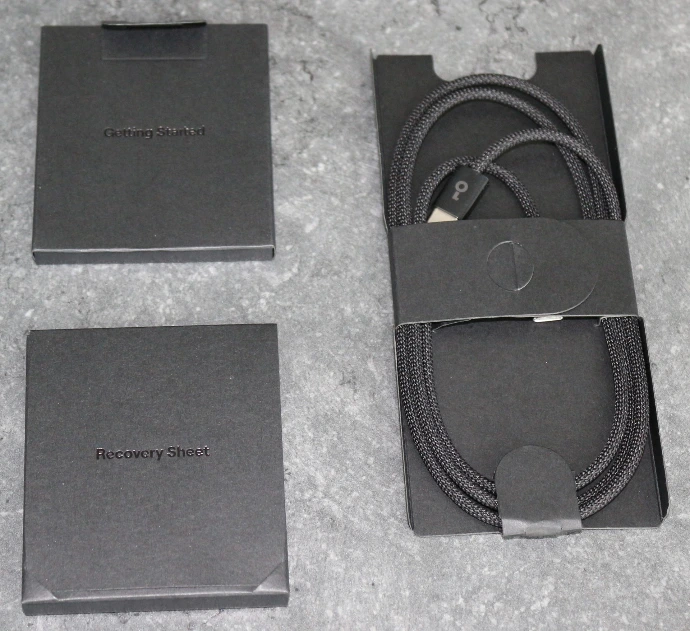
Once the box is open, you find the Neo sealed in its own protective packaging. The inside is just as carefully presented as the outside: the accessories sit in small boxes with embossed labels identifying their contents. And for anyone in a hurry, there are little reminders dotted here and there, such as “Never share your recovery phrase with anyone”.
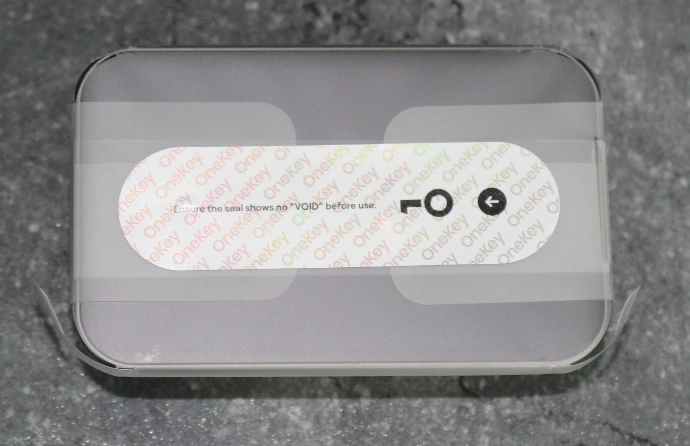
There is real pleasure in unboxing it. It has the attention to detail you find with some premium consumer electronics, without pretending to be a luxury item.
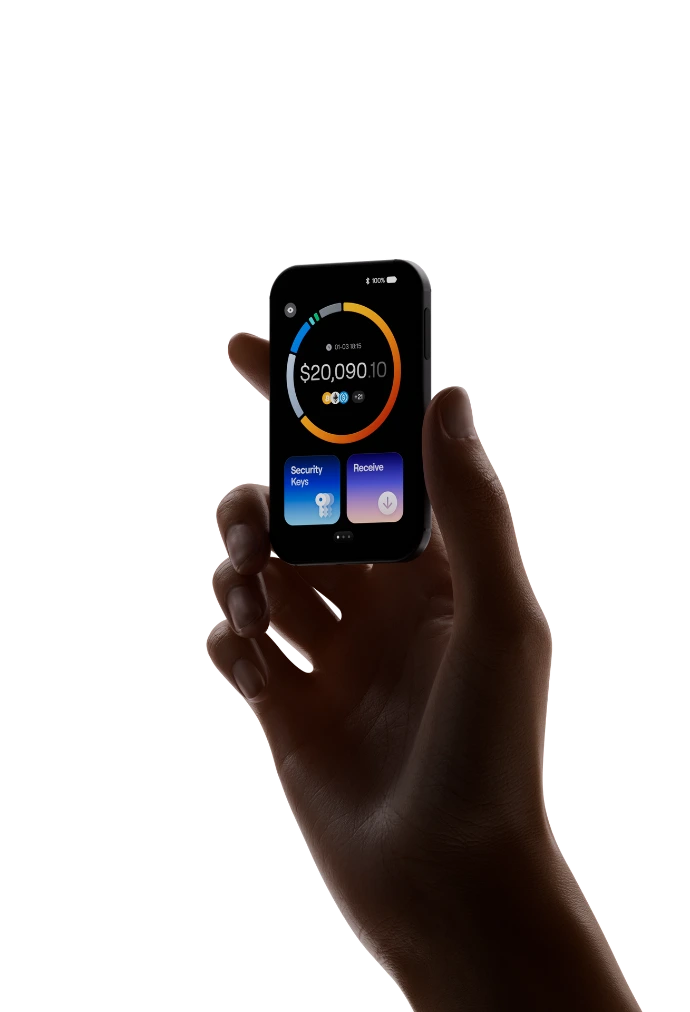
Out of its protective packaging, the Neo looks lovely. It brings to mind a miniature version of an older product from a certain fruit-branded company, without naming names. Its anodised aluminium frame and fibreglass back feel well made. At 48 grams and just over 6 mm thick, it feels light and unobtrusive in the hand.
The screen is protected by Gorilla Glass 5, and OneKey advertises an IP56 rating for dust and splash resistance. I would still be careful with drops and knocks that could damage the aluminium frame, fibreglass back or screen glass. As for splashes, I do wonder who is managing crypto transactions beside their swimming pool or in the bathroom. Either way, I have not subjected this Neo to those sorts of durability tests, but it looks perfectly ready for normal, everyday use.
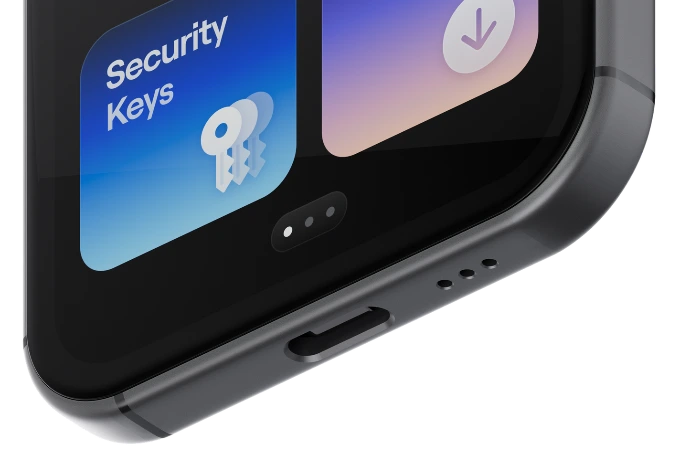
Near the USB-C port, three small holes let the speaker make itself heard. Just as well they are there, because you certainly cannot call the Neo loud: the beeps are very quiet, even at maximum volume. The power button on the right has a satisfying click. It barely protrudes from the frame, though, and I found myself feeling around for it at first.
A long press and the screen lights up. The AMOLED panel offers excellent contrast and remained readable enough in direct sunlight during my test. For the more particular among you, the screen has visible borders. But then, this is a hardware wallet, even if it does look a little like a small smartphone.
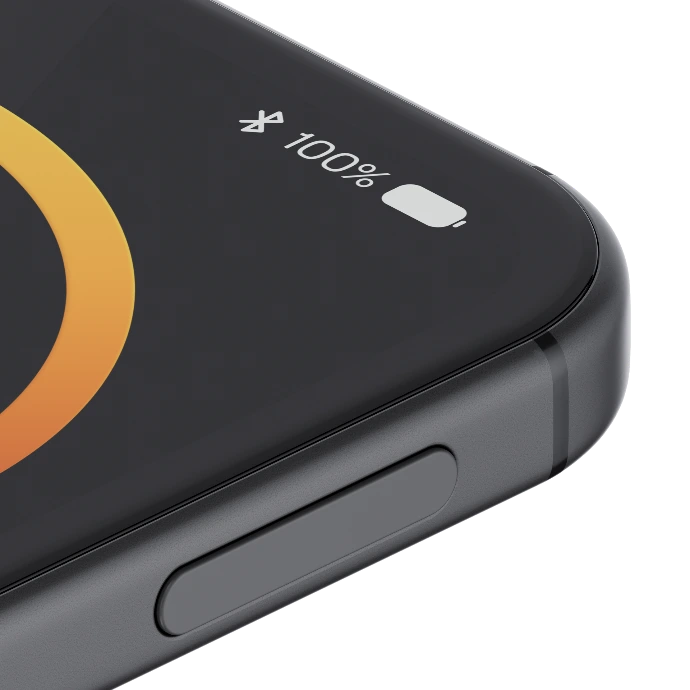
The battery is not designed for straightforward replacement by the user. OneKey advises against routine disassembly, which could damage the casing or internal components. That is worth keeping in mind when thinking about the product's lifespan.
This first encounter with the OneKey Neo certainly makes me want to carry on. One detail does puzzle me, though: the haptic feedback. OneKey advertises it, and there is a setting to enable it, but the vibrations are barely noticeable on my unit. You have to concentrate and, above all, keep still to feel them. That makes it difficult to tell which actions trigger them. I suspect an issue with the unit I received, but the cause still needs to be clarified with OneKey.
Setup
The quick-start guide asks us to plug in the cable, follow the on-screen instructions and download the app. Bear in mind that the supplied USB cable carries data as well as power. If your battery is very low, let it charge for a while before updating the firmware, the software running on the Neo. It is better to get through that step without an interruption.
The menu names below match the Neo's English interface. If you choose another language on the device, the labels will differ.
Let's get started.
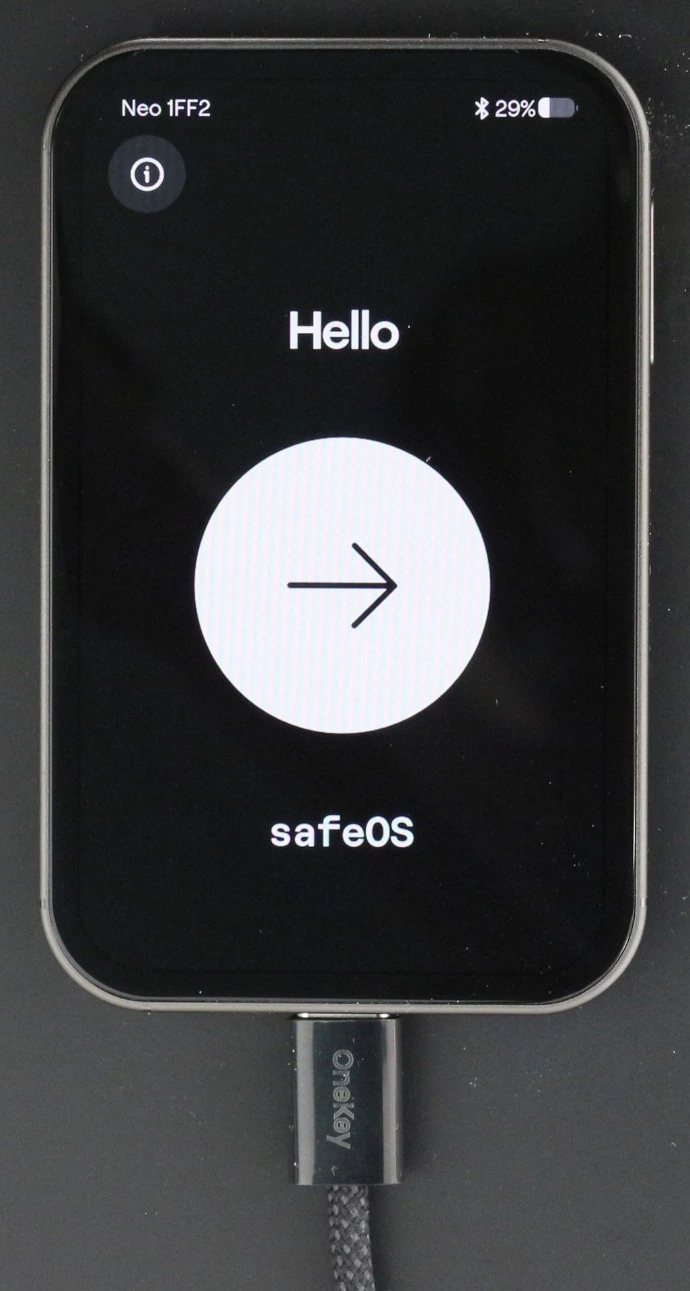
After switching it on, you swipe right, choose the language, then select the type of device on which you intend to install OneKey: “Mobile” or “Desktop”. For this article, I chose the computer. I prefer doing this sort of thing sitting comfortably at a PC or Mac, with time to read the instructions and prepare the backup. Avoid rushing through it on your phone between two train stops.
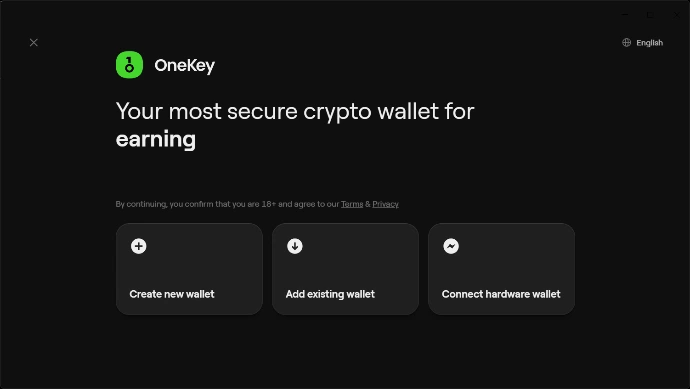
Once the app is installed from the official site, you have three choices: create a new software wallet, restore an existing wallet or connect a hardware wallet. It is the third option we want here. The first two let you use the app as a hot wallet, a wallet on an internet-connected device, without needing the Neo. If keys and seed phrases are new to you, the Academy explains their roles and how they differ.
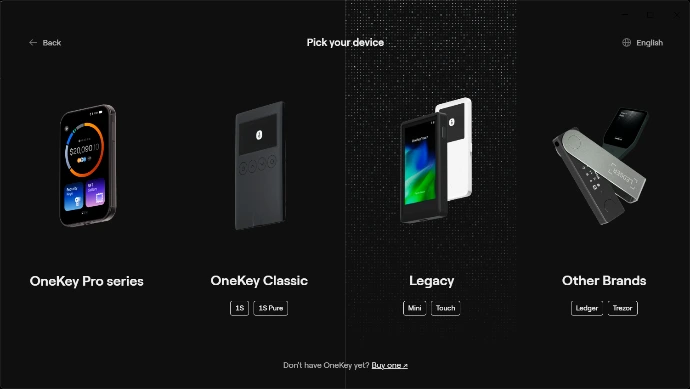
Next, you need to select the hardware wallet family. In the app version used for this review, you need to choose OneKey Pro Series to connect the Neo, even though the name does not mention it and can be a little confusing.
I plug in the Neo using the supplied cable and select the USB connection in the app. If your computer has no USB-C port, a suitable USB-A to USB-C data cable can also do the job. The device appears with an identifier beside its name; select it to continue.
The Neo also offers Bluetooth. For this initial setup, I preferred to use USB so I could follow the whole creation process over a wired connection. Bluetooth worked without any problems when I used it later in my tests, though.
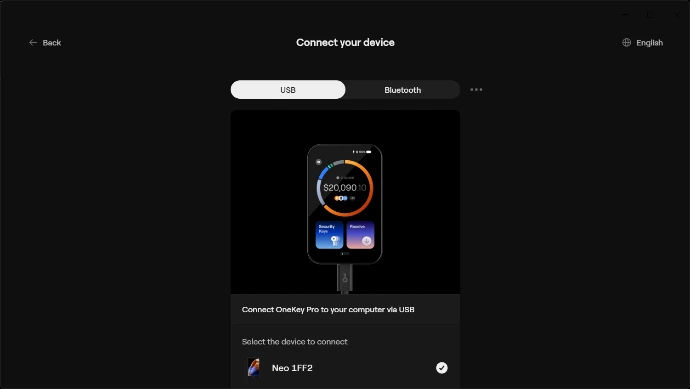
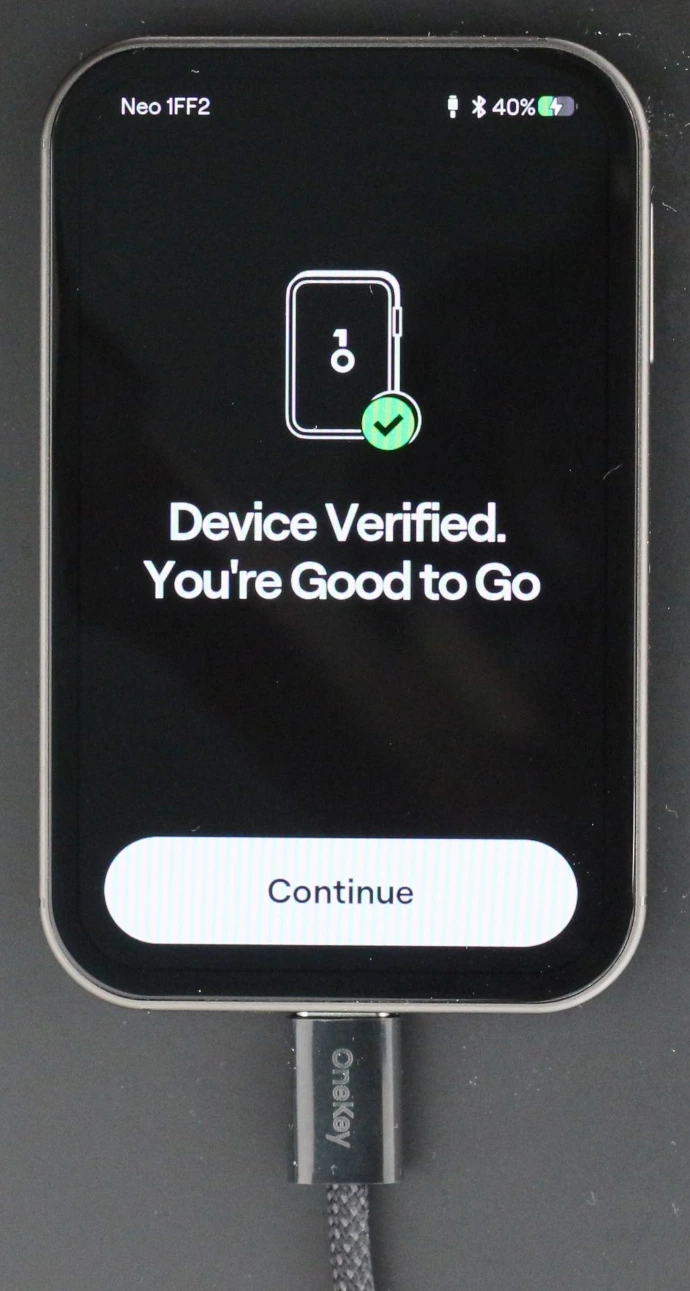
The app then offers to check the device's authenticity and update its firmware. That is good practice: before entrusting a wallet to it, you might as well start with the manufacturer's check and install any available fixes. On my unit, I went from safeOS 1.0.1 to 1.0.3. The Neo then restarts and returns to setup.
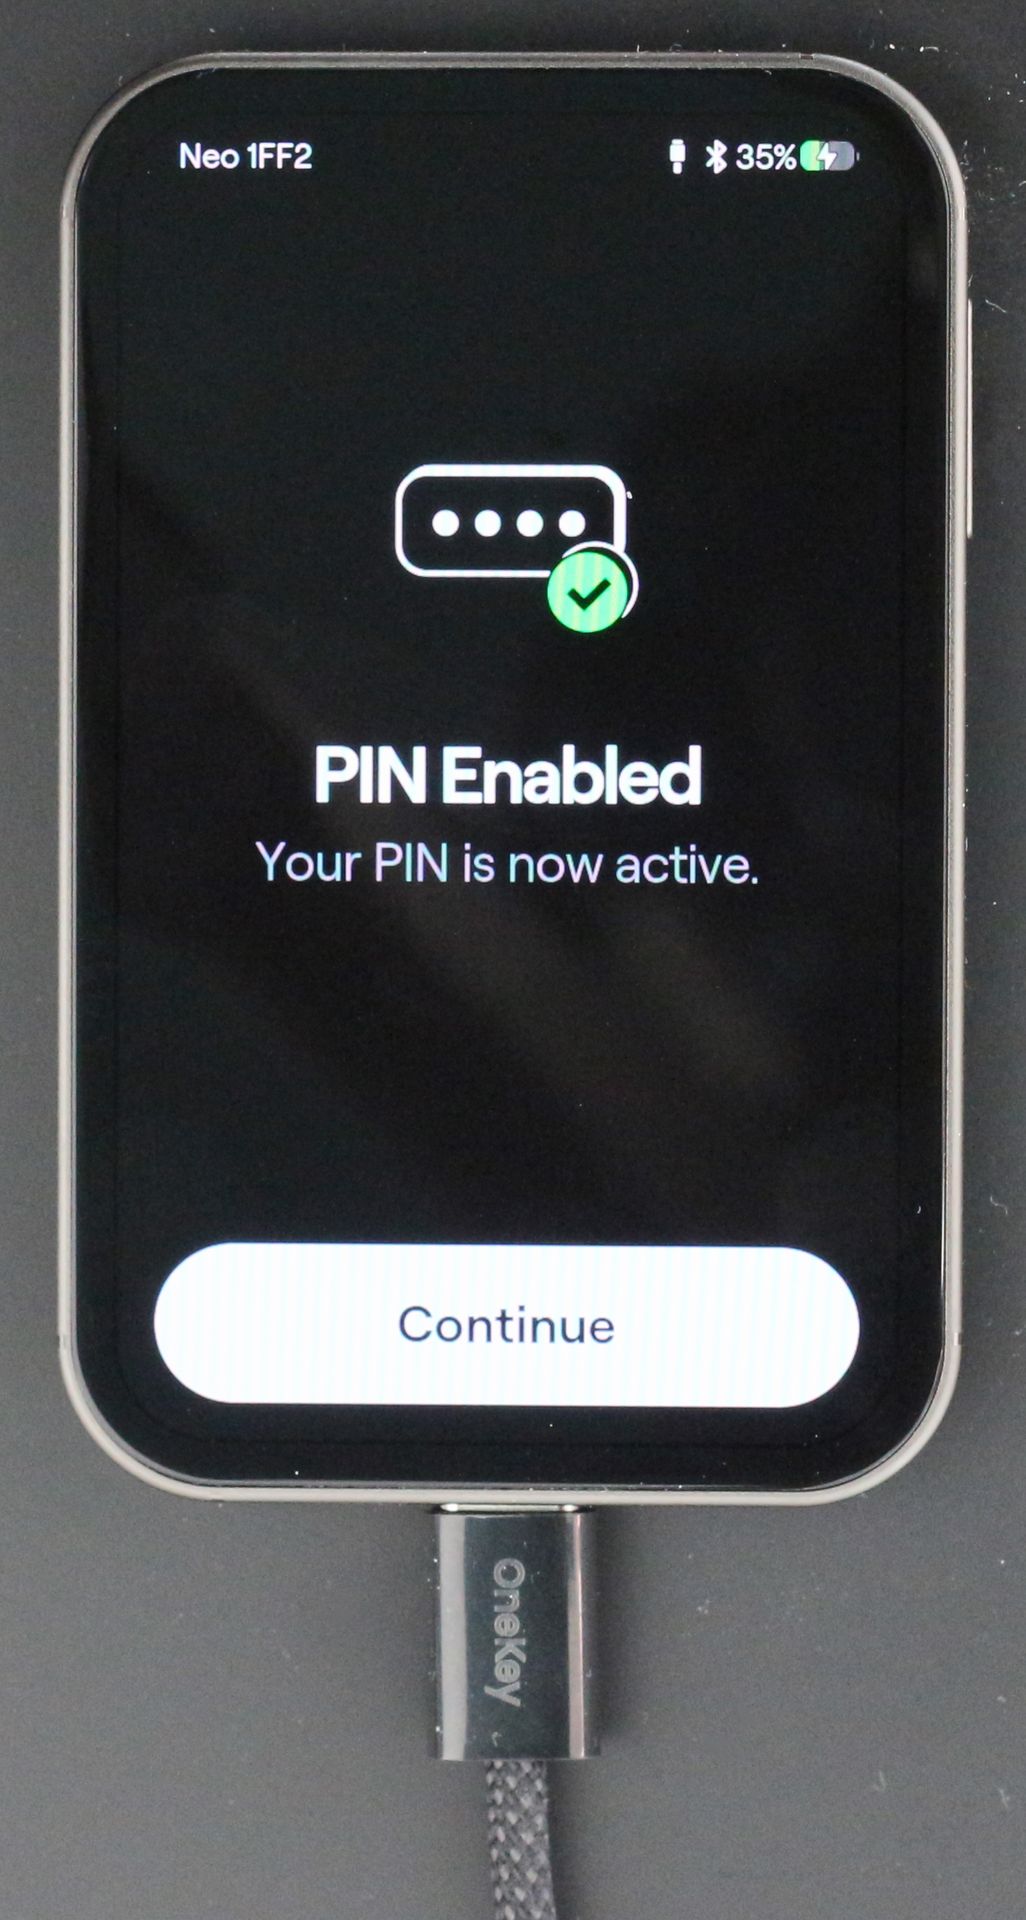
You now need to set a PIN. Choose one specifically for this device, difficult enough to guess but one you can remember. Avoid your date of birth and obvious sequences. This code unlocks the Neo; do not confuse it with the seed phrase, which lets you recover the wallet if the device is lost or fails.
Next comes the choice between creating a new wallet and restoring one. Before continuing, look at the three dots in the top-right corner of the screen: they open the following backup options:
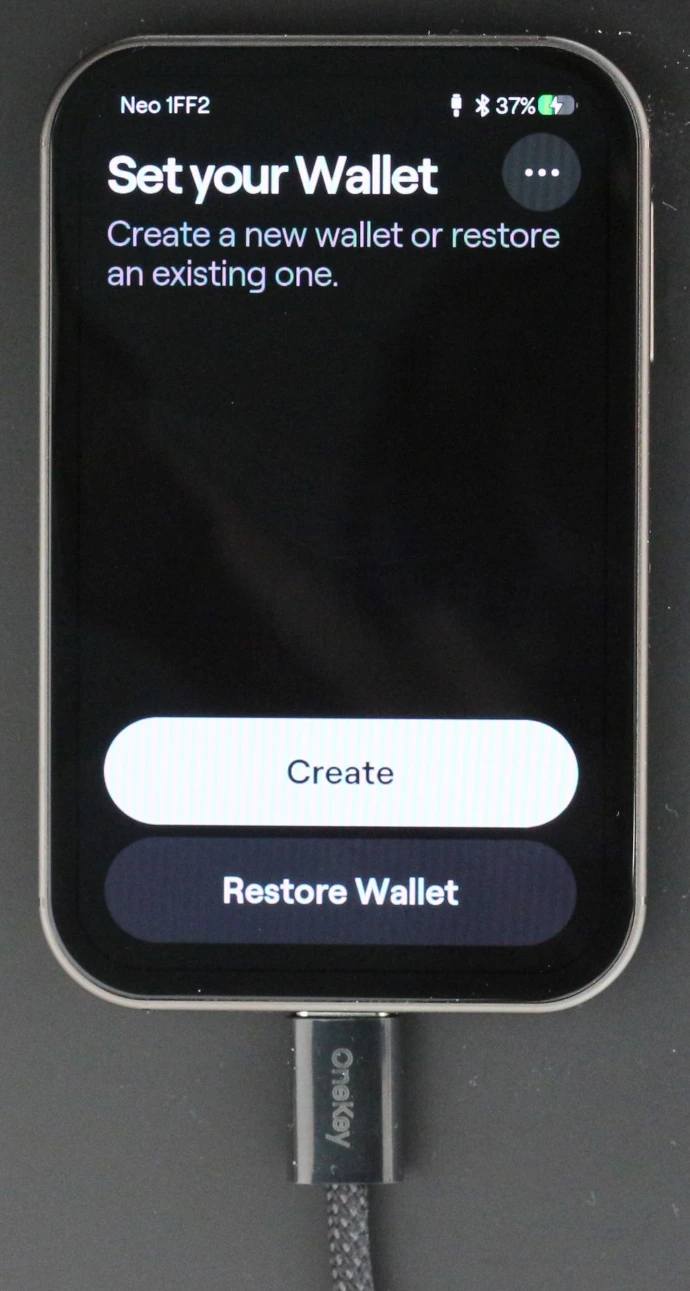
- Legacy Backup (BIP-39) offers a 12-, 18- or 24-word seed phrase. These lengths correspond to 128, 192 and 256 bits of initial randomness respectively. More words mean more randomness, but also more words to store correctly.
- 20-Word Backup Types (SLIP-39) offers a different format. With Single-Share Backup, one share is enough for recovery. With Multi-Share Backup, the backup is split into several shares and you choose how many are needed to restore the wallet. For example, a two-out-of-three threshold lets you recover it with any two of the three shares. This is different from cutting a BIP-39 phrase into pieces, or using a multisig wallet.
- In the advanced options, Use multiple sources of entropy is enabled by default on my unit. Entropy here means the randomness used to create the wallet. The option aims to combine several sources rather than depend on just one; OneKey describes this approach in its documentation without detailing the Neo's exact implementation here.
For this test, I keep the default 12 words and tap Create to create the wallet. Everything happens on the Neo: it generates the material from which the keys will be derived, then displays the words to back up. With SLIP-39, you need to keep the words for each share according to the threshold you chose.
To restore an existing wallet, the menu I checked offers 12-, 18- or 24-word BIP-39 phrases, 20- or 33-word SLIP-39 shares and a SeedCard recovery option. I tried BIP-39 recovery with 18 words; the others are options I noted in the menu.
And thank you, OneKey, for the help with typing! During my restoration, the keyboard only offered letters matching the remaining possible words. For English BIP-39 words, the first four letters are enough to identify each word. It makes this rather tedious step much easier.
Keep one thing in mind: a seed phrase already used in a hot wallet may have been exposed on a connected device. Importing it into any hardware wallet does not remove that risk. If you are weighing up these two approaches, the Academy explains the differences between hot and cold wallets.
Back to creating the wallet: the 12 words now appear on the screen. This is the moment to take your time and copy them down in order on a durable medium or, failing that, one of the supplied sheets. The Neo then asks you to select certain words to check that you have written them down correctly.
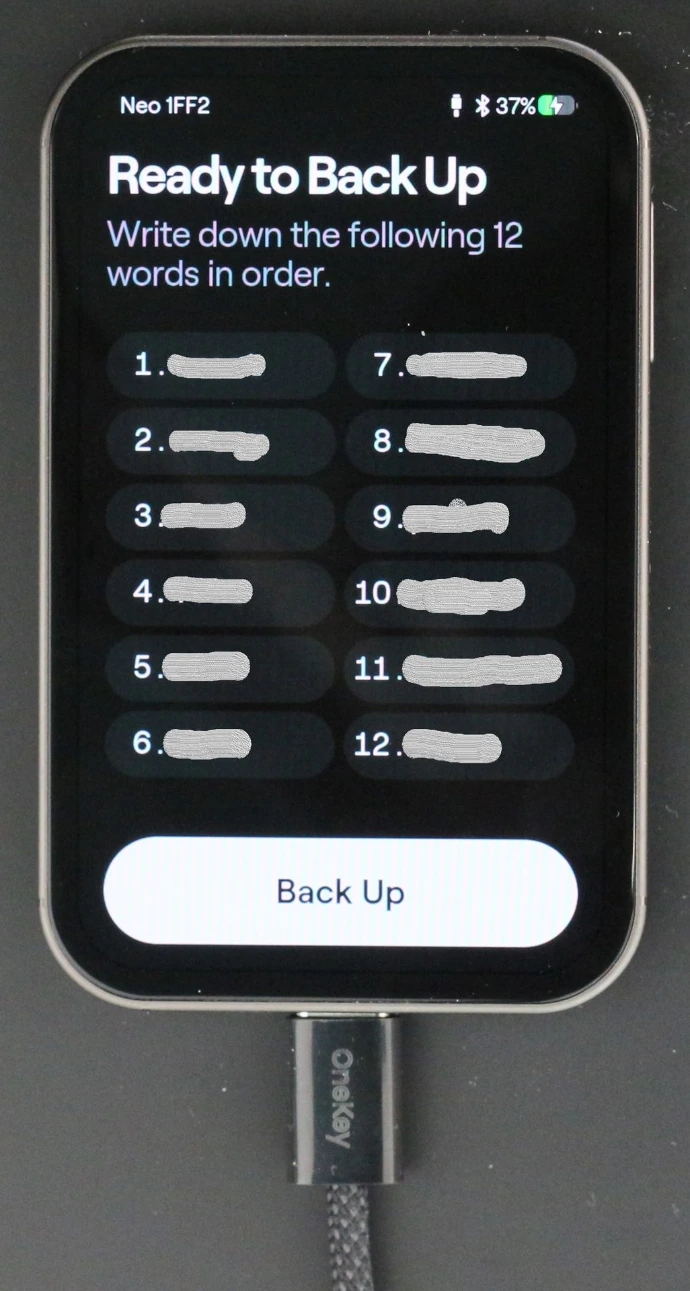
For your own setup, if you choose BIP-39, favour 24 words: this increases the initial randomness to 256 bits, compared with 128 for a 12-word phrase. A correctly generated 12-word phrase is not an inadequate backup, but you might as well use the highest available level of entropy. Of course, that also means copying and storing a longer seed phrase with the same care.
If you choose SLIP-39 to split the backup, first check which devices will be able to restore it. Not all hardware wallets support this format. And do not confuse it with multisig: several SLIP-39 shares reconstruct the same secret from which the wallet's keys are derived. A multisig wallet, on the other hand, requires signatures from several distinct keys according to a defined rule. The Academy explains how multisig works and what it is used for.
A few very practical tips: write clearly, preferably in capitals, and choose ink that will last. It would be a shame to discover a few years down the line that the words are no longer readable. A sheet of paper can also be lost, burnt or damaged by water. Depending on the amounts involved and your situation, a metal backup and a copy kept elsewhere may be worth considering. Each copy then needs protecting against theft just as carefully as against damage.
For more on this, see the Academy article on storing your seed phrase, keeping copies and managing physical risks.
The Neo then offers what OneKey calls Quick Backup, an additional backup process made easier by using the PIN. This shortcut does not replace a backup: if you lose the device and all your recovery methods, the PIN alone will not recover the wallet.
There we are, the wallet is created!
The Neo also offers a passphrase, an additional secret phrase that opens another wallet, often called a “hidden” wallet, from the same seed phrase. It is sometimes nicknamed “the 25th word”, but that name is misleading: it is neither a word added to the recovery list nor the device's PIN. It needs just as much care, because the seed phrase alone will not recover that wallet. Among other things, the Academy guide Strengthen your crypto security explains its purpose and the precautions it calls for.
Compatibility: much more than Bitcoin
Bitcoin is all well and good, but the Neo obviously does not stop there. The OneKey ecosystem also covers Ethereum and many other networks and tokens. The manufacturer advertises more than 30,000 assets. Rather than copy out a list that will change with updates, I would point you towards the official list of supported cryptos. Check your asset, its network and the device model: some operations use the OneKey app, while others use a third-party wallet.
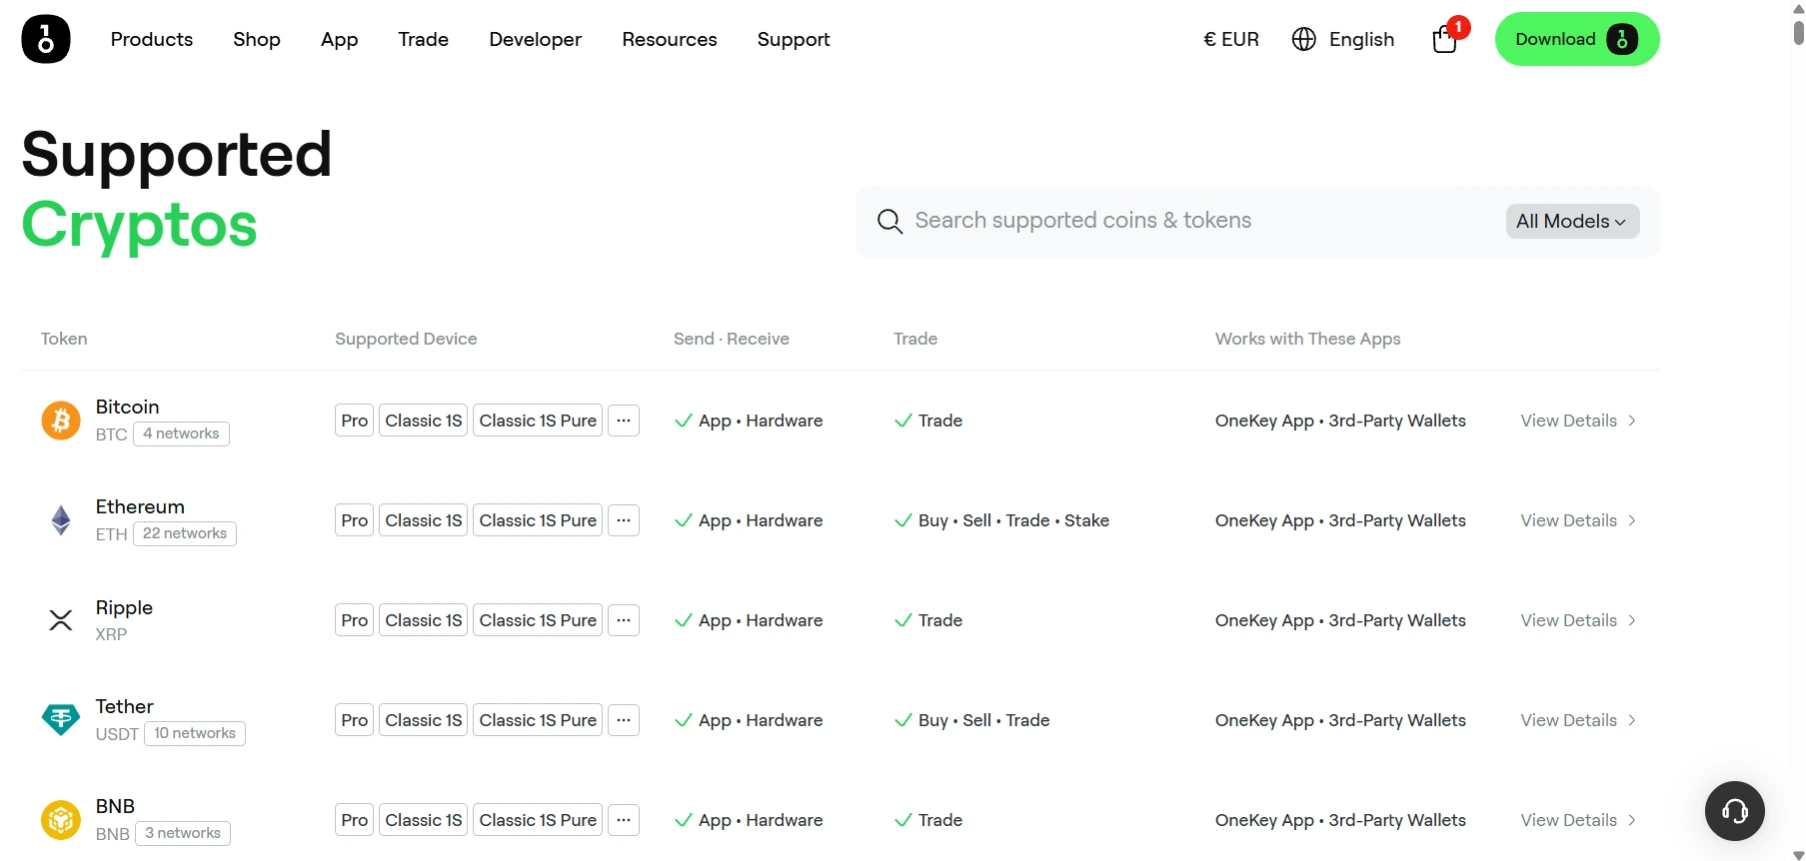
There are also features for NFTs [Non-Fungible Tokens] and DeFi [Decentralised Finance]. The doors to Web3 are certainly open, although the possibilities depend on the networks, services and compatible apps. This hands-on review is not intended to go through every one of them.
What is on the Neo in everyday use?
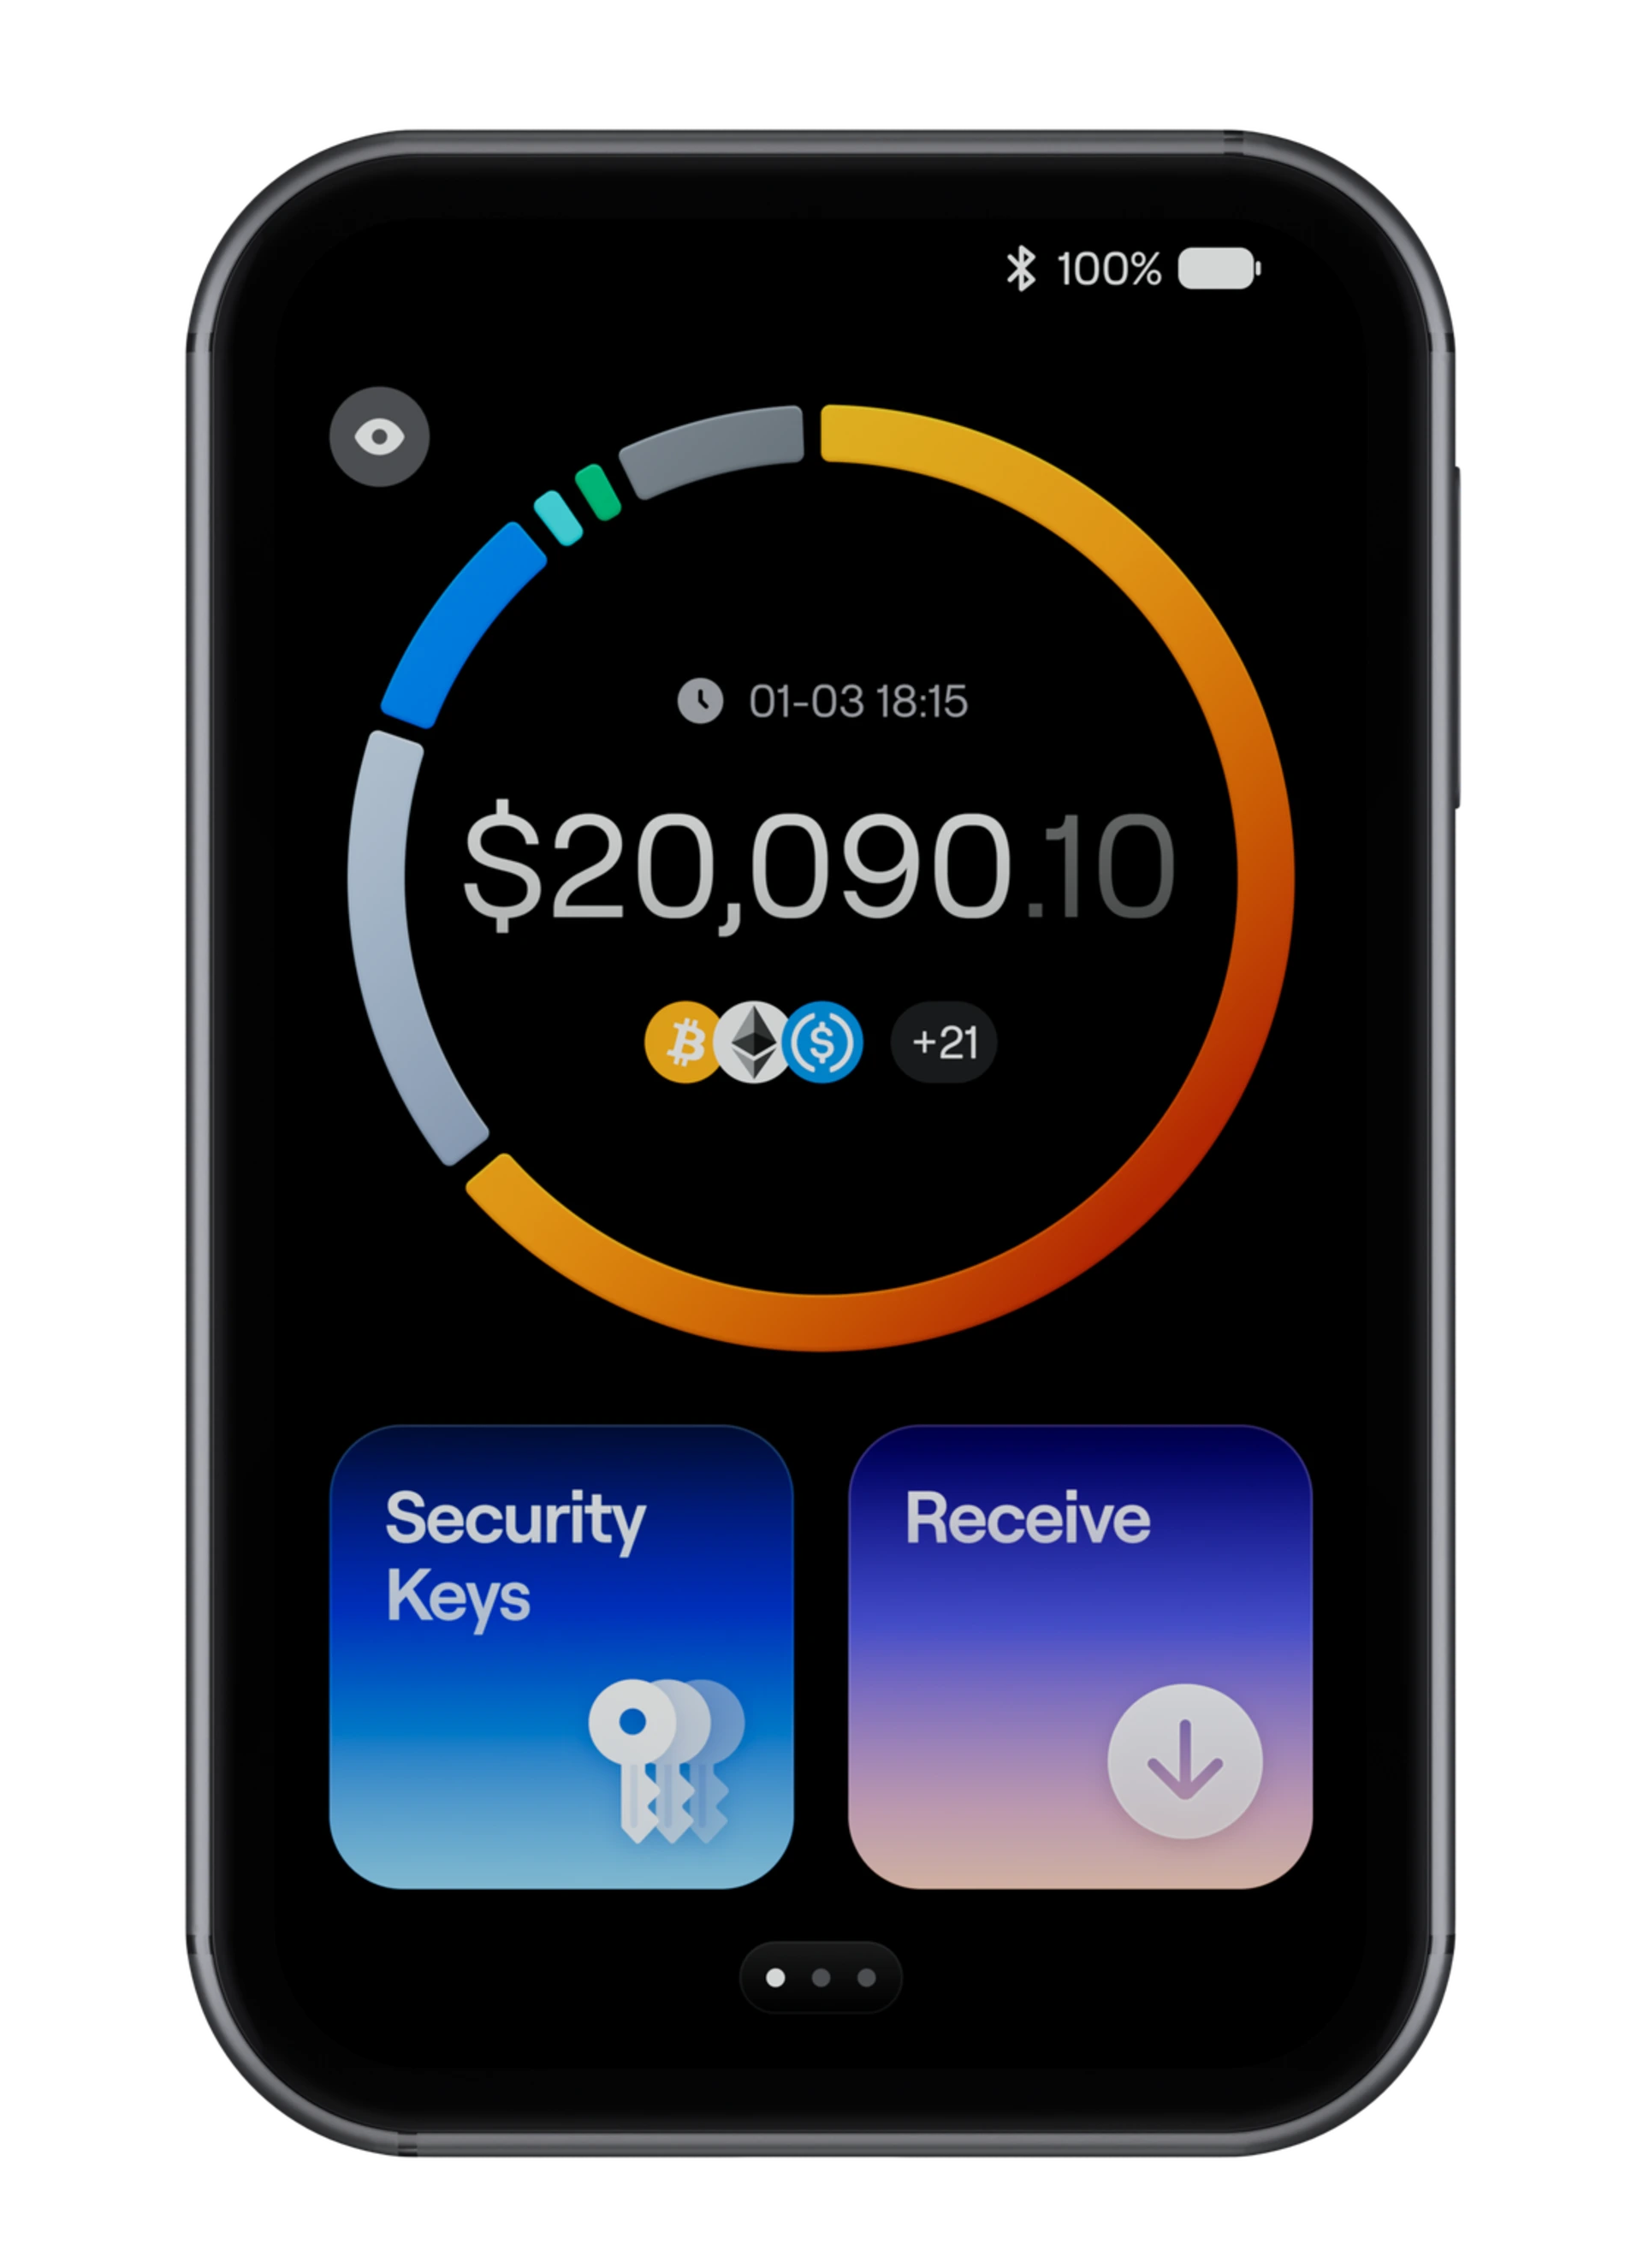
Once you enter the PIN, the first page shows three tiles: Portfolio, Security Keys and Receive.
Portfolio displays your holdings after synchronising with the OneKey app. It is handy for taking a quick look at your assets, bearing in mind that the data comes from that synchronisation. The total value in a conventional currency, such as dollars or euros, can be hidden.
Security Keys opens the authentication key features; I will come back to those a little later.
Receive is for receiving assets: choose the account and network, then the Neo displays the address and its QR code. Simple and effective. Get into the habit of checking this address on the Neo before using it, rather than relying only on the one shown on your computer.
The next page contains Connect Wallet, for connecting an app over USB or Bluetooth, NFT Gallery, for displaying NFTs, Settings, Back Up, for backups, and Tips, for advice and help.
Under Connect Wallet, my unit lists OneKey Wallet and OKX Wallet for Bluetooth, and MetaMask, OneKey Wallet and OKX Wallet in the USB menu. During my tests, I used the Neo with the OneKey Wallet app as well as Rabby and MetaMask, without encountering any problems. For another app, check support for the model and the connection method offered.
There is a fairly comprehensive range of options under Settings. I will go through them in the order they appear on the Neo.
Under General, you first find the 17 languages offered on my unit, followed by the option to disable animations. The touch section covers haptic feedback, barely noticeable on my unit, and double-tapping to wake the Neo from standby. Next come the sound settings, for enabling or disabling general and transaction sounds, then adjusting the volume. Display lets you adjust brightness, automatic locking through Auto-Lock (available delays from 30 seconds to 30 minutes, or never), then power-off through Shut Down (from 1 to 10 minutes, or never). The Portfolio option hides the portfolio on the first page; you can then hide the model name and its Bluetooth identifier. Finally, Magnetic Case turns off the screen when the magnetic case is closed. As long as OneKey does not offer a dedicated case for the Neo, compatibility with the Pro 2’s magnetic case remains to be confirmed..
Under Security, you can choose a standard PIN keypad or a randomised layout. This makes your movements less repetitive for anyone watching you enter it, although you should still keep it out of sight. Next come checks relating to non-standard addresses, risky transactions and unusual fees. After that, there is locking when USB is connected or disconnected, followed by changing the PIN and enabling or disabling the security key feature for authentication with compatible apps and websites.
The Wallet menu provides access to seed phrase verification, the passphrase explained earlier, Turbo mode for faster signing, then the settings for disabling USB communication and Bluetooth. A full device reset comes last.
The Genuine Check menu explains how to verify the device's authenticity using the OneKey app.
The final entry in Settings, About Device, provides certifications, the model name, serial number and the versions of the various software and components: operating system, Romloader, Bootloader, secure elements…
Next, Back Up brings together backup and verification processes for the seed phrase and OneKey accessories, including SeedCard and KeyTag.
Restoring your wallet
I restored a test wallet on the Neo from an 18-word seed phrase without any difficulty. This matters: the hardware wallet can be replaced, provided you have kept a correct backup.
The other formats offered in the recovery menu, including SLIP-39 shares, were not all covered by this restoration.
The menu also offers a reset. Before using it, check your backup and remember the passphrase if you have set one up.
The OneKey app
The version used for this hands-on review is 6.6.3 (2026102381). Updates are frequent, so you may already see slightly different screens by the time you read this article.
The app works alongside the Neo to manage accounts, display assets and prepare operations. In the version I used, it lets you browse the markets, exchange tokens (swaps), transfer assets between networks (bridges), and trade on the spot market or in perpetual contracts (perps), with TradingView charts. It also provides access to DeFi services, including Morpho, Babylon and Lido. The services available depend on the version, network and region.
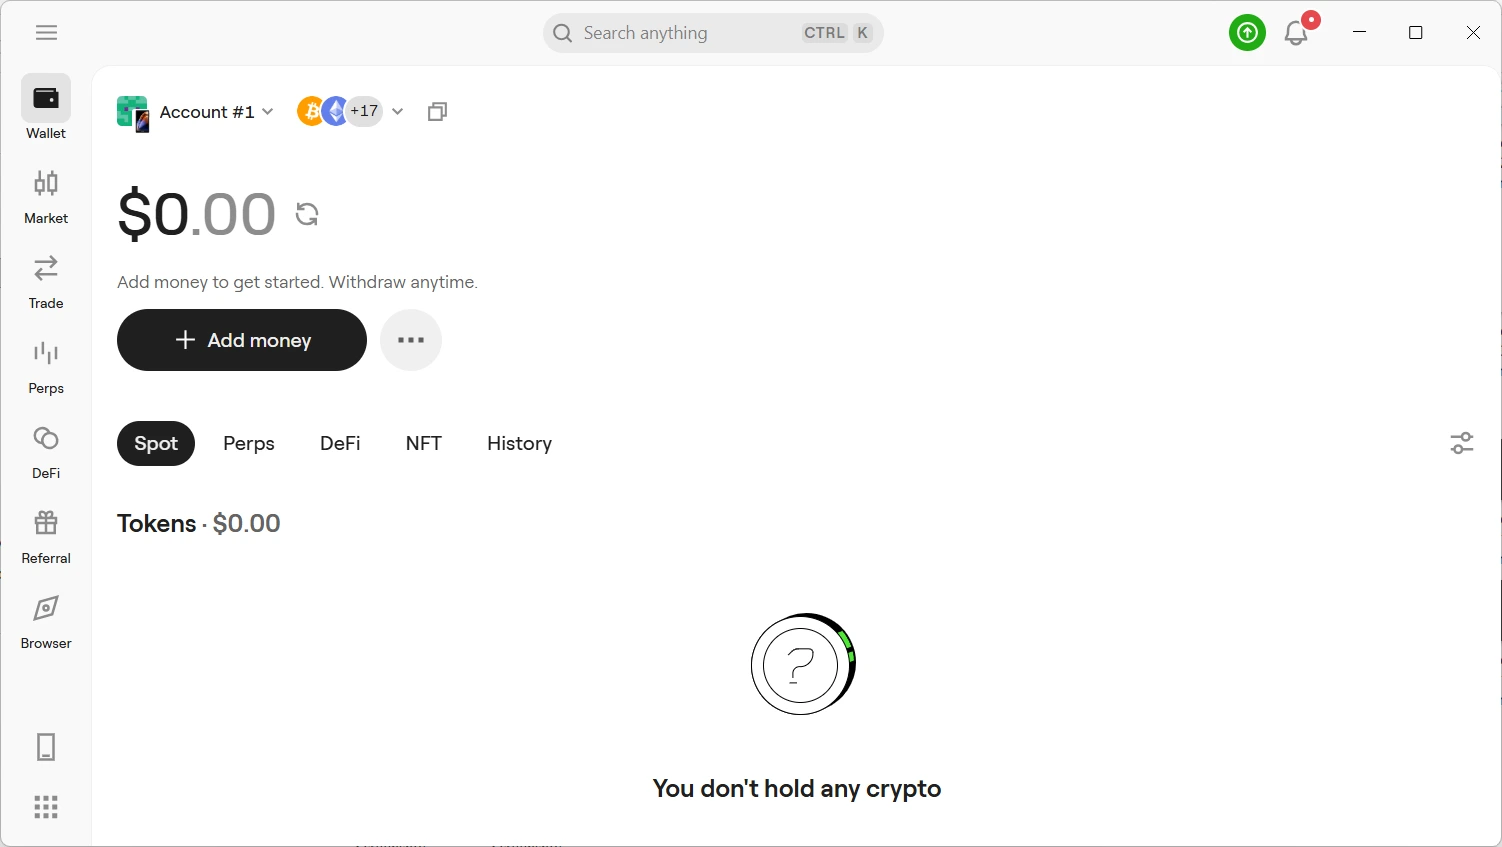
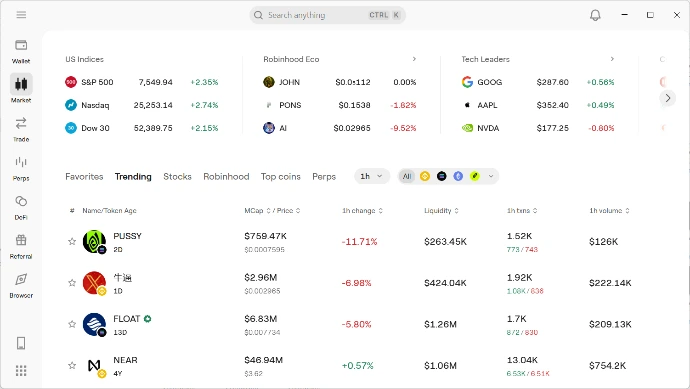
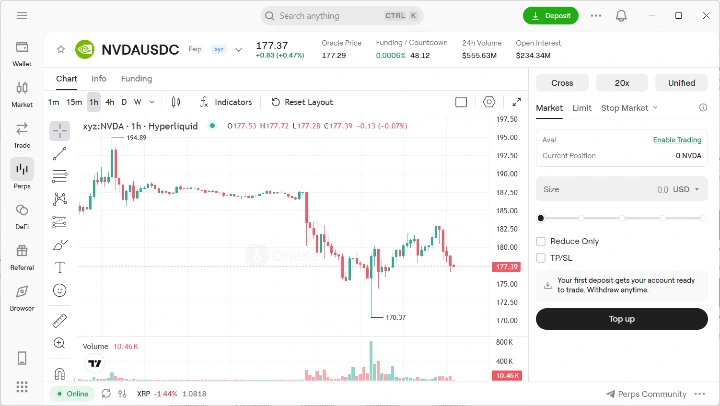
It can run on its own as a hot wallet, but make sure you know which type of account you are using: a software account created in the app and an account linked to the Neo do not protect keys in the same way. The app also offers a referral programme and a built-in browser for opening Web3 apps and connecting your wallet to them. For an account linked to the Neo, requests that require a signature then need to be confirmed on the device. Handy for keeping everything in one place, as long as you still check the site and the proposed operation.
The advice in the box continues in the app. You encounter verification messages and warnings as you use it. That is welcome, particularly for anyone new to hardware wallets.
OneKey particularly highlights Clear Signing, which presents understandable details before signing on the device, and SignGuard, which helps identify certain risks. There is a practical point to this: understanding what you are about to authorise. When interacting with a smart contract, that can matter just as much as checking an address.
OneKey also offers the paid Prime subscription, which unlocks additional features in the app. Clear Signing and basic SignGuard protections are available without Prime. The subscription adds Blockaid analysis of supported transactions and signing requests, proactive website checks, and checks on addresses and incoming transfers. Before subscribing, check the features and networks covered by the list of Prime benefits.
The OneKey subscription documentation lists US$29.99 per month or US$239 per year, equivalent to about US$19.92 per month when paying annually. A three-day trial was offered in the app I checked, but this depends on the offer and payment method: OneKey specifies that cryptocurrency payments do not include a free trial.
For someone who regularly uses the app's advanced features, the subscription could be worthwhile. For occasional use, I would find that cost harder to justify. Other tools may cover some needs, without necessarily bringing as many features together in one place or replacing every Prime option.
A hardware wallet, but not just that
The Neo can also act as an authentication key. OneKey advertises support for FIDO2 [Fast Identity Online 2], notably for using passkeys with compatible services. The connection currently documented for this feature is USB-C, not Bluetooth. The idea is to confirm a login using a physical device, beyond its use for crypto.
For temporary TOTP [Time-based One-Time Password] codes, there is still a wait: the official launch announcement lists them for a future update, along with tap-to-authenticate over NFC. The product page also lists Coin Control and Tor as upcoming features. Based on those announcements, they therefore cannot be counted among the Neo's currently available functions.
Neo or Pro 2: what are the compromises?
Both models share a 3.54-inch AMOLED screen, a 700 mAh battery and wireless charging. The Neo is advertised at US$179, compared with US$299 for the Pro 2. The main differences are the extra features: a camera for QR-code signing, a fingerprint reader and Apple Find My on the Pro 2. The materials and box contents differ too: the Pro 2 shop page notably lists a SeedCard, a Fabric Folio case and six months of Prime included.
For someone who wants to sign without a USB or Bluetooth connection, the camera is a real deciding factor. For someone who will use a cable or Bluetooth anyway, its absence will matter less. The Neo then retains one of the Pro 2's main attractions: a comfortable screen for reading and using the device.
You also go from four secure elements in the Pro 2 to two in the Neo. Without knowing their exact roles and respective protections, I would not draw a conclusion about overall security from that number alone.
And what about the competition?
A few reference points help put the Neo in context. The comparison below is based on the manufacturers' official specifications; it is not a side-by-side test of all these devices.
| Model | What sets it apart from the Neo |
|---|---|
| Trezor Safe 5 | A smaller touchscreen and a different wallet management and backup ecosystem. |
| Trezor Safe 7 | A larger screen than the Safe 5 and wireless connectivity, for those who also prioritise mobile use. |
| Ledger Nano Gen5 | An E Ink screen, Bluetooth and NFC, with a recovery key included. |
| Ledger Flex | A 2.8-inch E Ink touchscreen and the Ledger software environment. |
| BitBox02 Nova Multi | Touch controls along the sides and an included microSD backup. |
The Neo has its large colour screen going for it, along with the ease of use I enjoyed during this hands-on review. Your habits will also play a part: preferred app, computer or phone use, backup method and whether you need QR-code signing. Those differences can matter more than a long list of features.
Conclusion
The OneKey Neo is a modern device that is pleasant to use and nice to look at. Unboxing makes a good first impression, the screen is comfortable, and security advice accompanies you from the moment you open the box. I found setup straightforward and effective, and both creating and restoring a wallet went smoothly.
The variety of supported assets, the capabilities of the free app and my tests with Rabby and MetaMask already offer plenty to work with. OneKey also advertises the Neo as a signer for multisig tools, as well as offering authentication key features. Enough to go well beyond simply checking a balance; those uses could each justify a more detailed article of their own.
The very faint haptic feedback on my unit is not enough to put me off the Neo. I suspect an issue with the particular device I received, but cannot confirm that without a response from OneKey or a comparison with another unit. It deserves an explanation. Some advertised features, including TOTP codes, are also still to come.
I really liked the OneKey Neo. It takes much of what makes the Pro 2 appealing and puts it into a well-made, enjoyable device at a more accessible price. If camera-based signing or a fingerprint reader is essential for you, its bigger brother still has the edge. For everyone else, the Neo clearly deserves a place on the shortlist. Personally, I enjoyed getting to know it and using it.