The CryptKi Guides
How to level up your crypto security (advanced)
You followed the basics.
You set up a wallet. You backed up your seed phrase. You use separate wallets for different purposes.
That already puts you ahead of most users.
But at some point, a different question appears: what happens if something goes wrong anyway? Not a mistake you made. Not a link you clicked.
Something harder to prevent. A seed phrase found. A device seized. Someone who knows what you hold.
This is where the next level starts.
Not by adding complexity everywhere, but by closing the gaps that basic security leaves open. This guide walks you through each one, in order of impact.
Advanced security is useful only if it remains usable. Do not add a protection layer that you cannot maintain, explain, or recover from.
Before going further, make sure you are comfortable with:
→ How to set up a wallet
→ How to manage your seed phrase
→ How to structure your crypto setup and reduce your exposure
Step 1. Map what you are actually protecting against
Before adding anything, identify your real risks. Advanced security applied to the wrong threat creates complexity without protection.
There are four categories of risk:
- Digital compromise. Someone accesses your device remotely through malware, a malicious extension, or a compromised app. Your keys or seed phrase are exposed without physical access.
- Device compromise. Your phone or computer is physically accessed. Someone reads your seed phrase from a file, a screenshot, or a notes app.
- Physical access to your backup. Someone finds where you stored your seed phrase, a drawer, a safe, a piece of paper. They do not need your device at all.
- Coercion. Someone who knows what you hold pressures you to give access. This can happen in person, or through social manipulation over time.
Each step in this guide addresses one or more of these. Knowing which risks apply to your situation helps you decide where to focus.
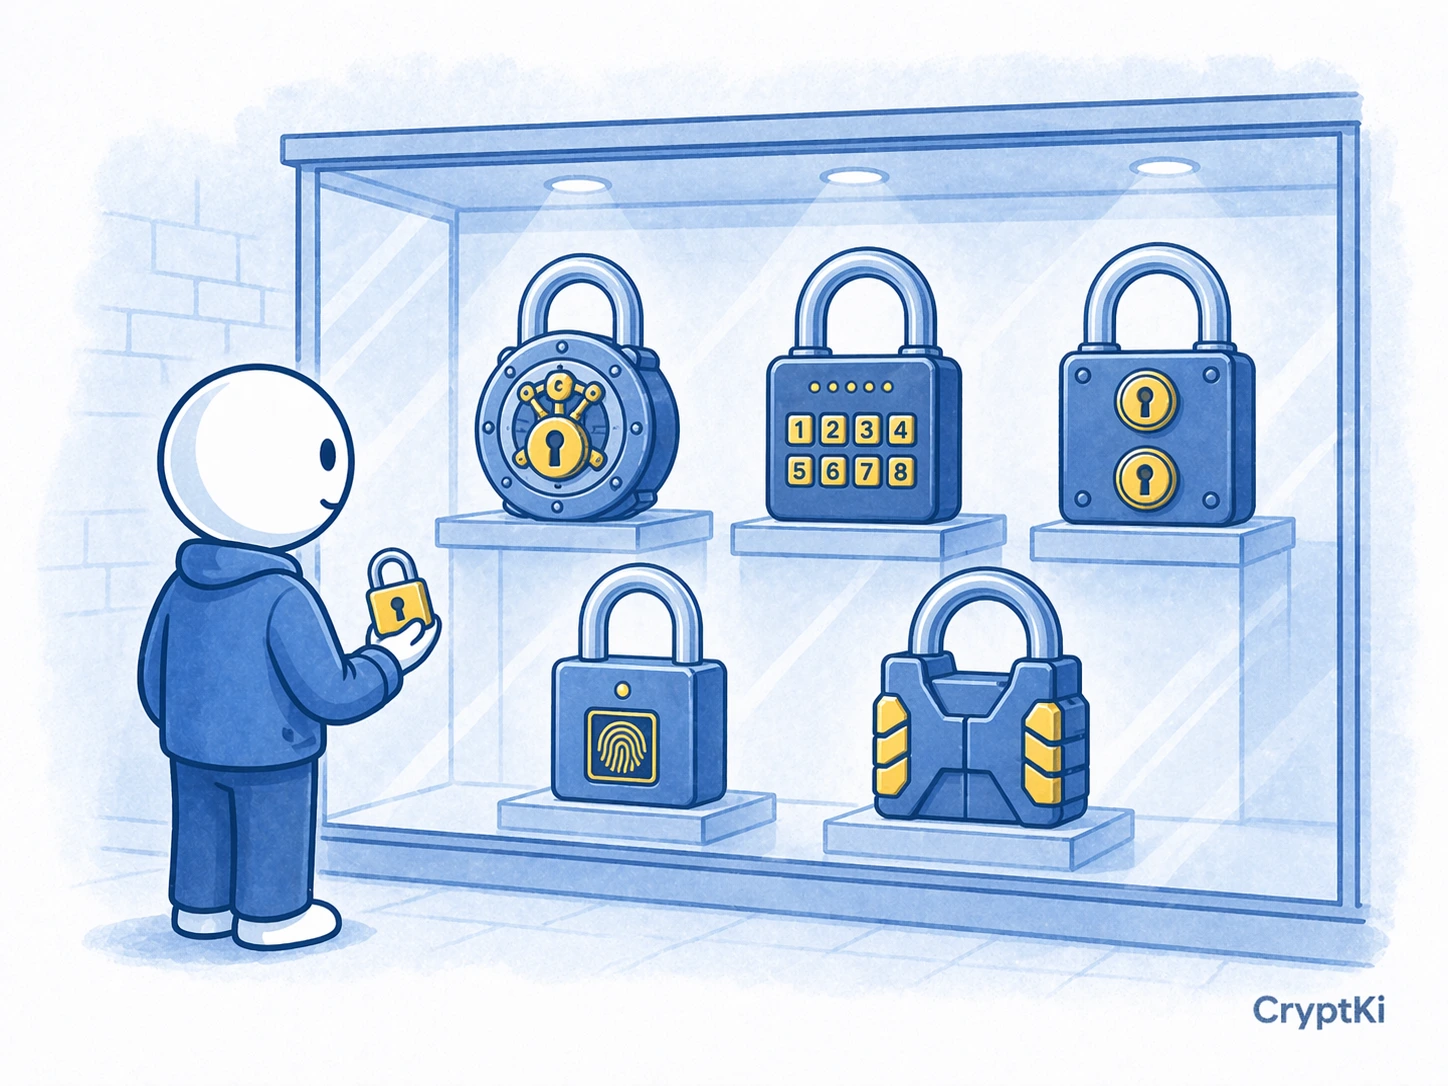
Step 2. Add a passphrase to your seed phrase (The 25th word)
A passphrase is an extra word or phrase added on top of your 12 or 24-word seed phrase.
It is often called the “25th word”, even though it is not limited to a single word.
The effect is significant: the same seed phrase with a different passphrase generates a completely different wallet. Someone who finds your seed phrase cannot access your funds without also knowing the passphrase.
Before enabling one, decide how it will be backed up and how your heirs or trusted contacts would know it exists if needed. A forgotten passphrase is unrecoverable.
What it protects against: physical access to your seed phrase backup. What it does not protect against: a compromised device, or coercion where you are forced to reveal both.
Not all wallets support passphrases. Many browser wallets and mobile wallets do not offer this feature. In these cases, the passphrase can only be used through a compatible wallet or a hardware device.
Always follow your wallet’s official instructions when enabling a passphrase, as the exact steps and naming can vary.
How to activate it
- Open your wallet settings and look for “passphrase” or “hidden wallet”
- Choose a passphrase you can memorise or store separately
- Use it once to generate a new wallet
- Verify the first address before moving any funds
- ⚠️ Store the passphrase separately from your seed phrase
The trade-off is real: if you forget your passphrase, your funds are permanently inaccessible. There is no recovery.
A passphrase removes one risk and adds a responsibility. Only use it if you are prepared to manage that responsibility.
Step 3. Think in layers, not single tools
No single security measure is enough on its own. The goal is to build layers so that compromising one does not expose everything.
A practical way to evaluate your setup is to ask: what is my single point of failure?
If one mistake or one event can expose everything, that is your weakest point.
If your answer is “my seed phrase,” ask where it is stored, who could find it, and what they could do with it.
If your answer is “my device,” ask what happens if it is seized or compromised.
A layered setup addresses multiple scenarios at once:
- A hardware wallet keeps keys off your main device
- A passphrase protects your seed if it is found
- Separate wallets by role limit exposure per wallet
- A clean device reduces the attack surface
You do not need all of these at once. Add layers progressively, and only when you understand what each one does and what it requires from you.
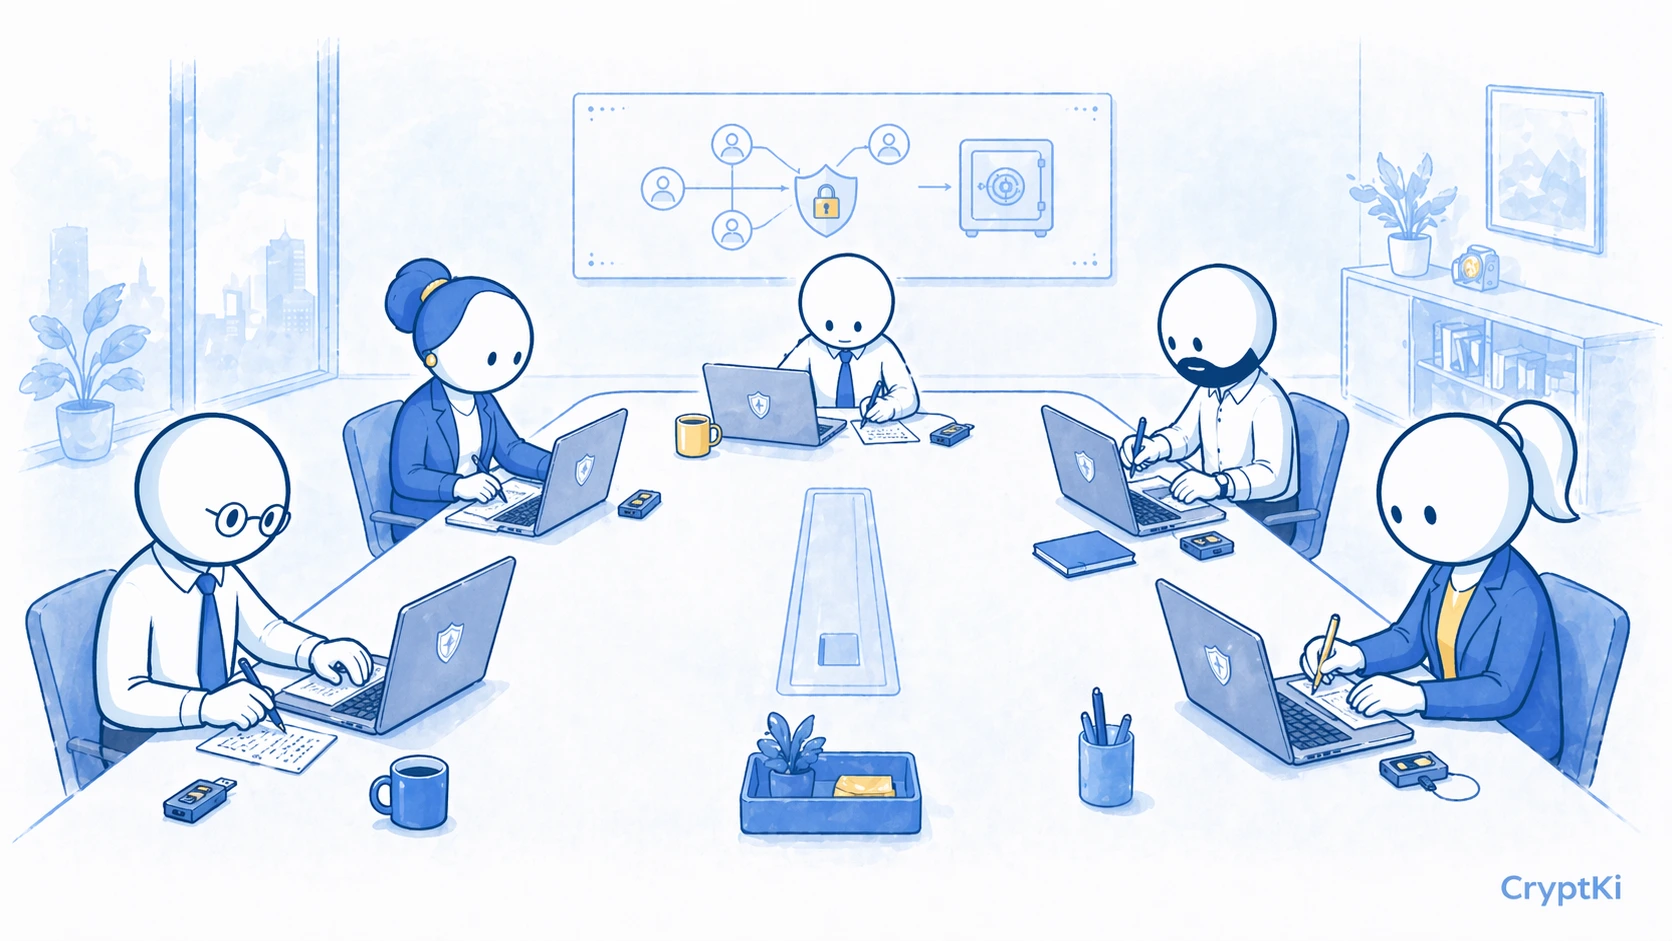
Step 4. Introduce multisig for high-value holdings
Multisig means that moving funds requires multiple independent keys, for example 2 out of 3. No single key is enough on its own.
What it protects against: a single compromised device, a single lost seed, or a single location accessed. Because the keys are separated, an attacker would need to compromise several independent sources at once.
What it adds: complexity, coordination, and the risk of misconfiguration. The most common failure is not an attack. It is losing access to enough keys to meet the spending threshold.
If your setup requires 3 signatures out of 5 and only 2 keys are still available, the wallet cannot authorize a transaction. The funds remain visible on-chain but are practically inaccessible until enough keys can sign.
In practice, multisig is usually built with a dedicated wallet tool and several separate hardware wallets used as signing devices. The exact tool depends on the network you use. On Bitcoin, wallets such as Sparrow or Electrum are common choices for individual users. On Ethereum and other EVM networks, Safe is the standard reference for multisig setups.
The important point is not the brand. It is the structure. Each key should be genuinely independent, with its own device and its own backup. If several keys depend on the same device, the same drawer, or the same bag, you are recreating a single point of failure inside a setup that was supposed to remove it.
A simple example: you create a 2-of-3 multisig wallet. One signing device is stored at home. One is stored in another secure location. One is kept as a backup in a third place. If one device is lost or one location is compromised, that should still not be enough to lose access or lose control.
How to approach it safely
- Decide on the structure first. For most individual users, 2-of-3 is the simplest serious starting point.
- Set up the wallet using the official documentation of the tool you chose.
- Fund it with a small test amount only.
- Test a real outgoing transaction and verify that the required signing flow works.
- Test recovery assumptions before trusting the setup. For example, make sure you can still operate if one key is unavailable.
- Only move significant funds once the setup, signing flow, and recovery logic are fully clear.
Store each key in a genuinely separate physical location. Real separation does not mean the same room, the same safe, or the same backpack.
Document the setup clearly in writing: which tool you used, what the threshold is, which device corresponds to which key, where the backups are stored, and how recovery is supposed to work. This matters more than many users expect. A multisig setup that cannot be understood later is not a strong setup. It is a future problem.
Multisig in a business context
Multisig is also common, and often necessary, when crypto is held at the company level.
In a business setup, the personal logic no longer applies. The funds do not belong to one individual, important transactions should not depend on one person being available, and access should not become impossible just because someone leaves the company or cannot be reached.
In that context, multisig is often the default structure rather than an optional extra.
The exact threshold depends on the organization. A 2-of-3 setup may be enough for a small company. A larger team may need 3-of-5 or more. What matters is not choosing the highest number. What matters is making sure that no single person can act alone, while the company can still operate if one keyholder is unavailable.
This also introduces questions that do not exist in a personal setup. Who holds each key? Who approves which type of transaction? What happens if a signer leaves the company? How are pending transactions reviewed? Who can see what is waiting to be signed?
These are not only technical questions. They are governance questions.
A good business multisig setup should reflect how the company actually makes decisions. If the internal approval process requires two people, the wallet should reflect that. If one signer leaving the company would block operations, the structure is too fragile.
👉 If you are not familiar with how multisignature wallets work:
→ Multisignature wallets: how they work and use cases
Multisig is powerful, but it is not the right next step for everyone. If you are not yet fully comfortable with a hardware wallet, backup discipline, and passphrase logic, start there first.
Step 5. Control what you reveal (OpSec)
OpSec, or operational security, is about limiting what others can learn about you and your assets.
Most targeted attacks do not start with a technical exploit. They start with information.
Someone who knows you hold crypto, knows roughly how much, and knows how to reach you is already a risk.
Reduce what others can learn
- Do not share your wallet balances publicly
- Avoid linking your identity to your addresses
- Be careful with screenshots, screen recordings, or public discussions
- Do not reveal how your backups are stored
- Assume anything online can be seen, saved, and reused
Each piece of information may seem harmless on its own. Combined, they can expose your setup.
Treat wallet addresses as sensitive information. Reusing the same address makes your activity traceable.
Review what is already public about you.
Search your wallet addresses on a blockchain explorer and see what someone else can learn from them. Look up your usernames across platforms and check what they reveal when combined.
Step 6. Secure the physical layer
Your seed phrase exists somewhere in the physical world. That location is part of your security.
Physical access changes everything.
Quick check
- Can someone else access your backup?
- Would they recognize what it is?
- What happens if it is stolen?
- What happens if it is destroyed?
Practical steps:
- Store your seed phrase in a secure and non-obvious location. A safe is a baseline.
- Consider using a metal backup instead of paper for long-term durability.
- If you use a passphrase, store it in a separate location.
- Plan what happens if you are unavailable. Without a clear plan, funds can be permanently lost.
A secure setup is not just about preventing access. It is about surviving loss, theft, and accidents.
Step 7. Prepare for coercion and social engineering
Not all attacks are technical. Some are human.
Coercion involves pressure. Social engineering involves manipulation.
Common scenarios:
Someone pretends to be support and asks for your seed. Someone pressures you in person to transfer funds. Someone builds trust over time before making a targeted request.
What you can do:
Understand what you can reveal and what you cannot.
If you use a passphrase, you can create a secondary wallet without it, holding a small amount. This is sometimes used as a “duress wallet.”
This only works if the setup is prepared in advance and fully understood. It is not something you can improvise.
Never share your seed phrase under any circumstances.
Be cautious of urgency and pressure.
Limit who knows what you hold.

Key takeaways
Advanced security is not about adding everything. It is about making sure one failure does not become total loss.
What each step closes:
- Passphrase protects your seed if someone finds it
- Layers prevent a single mistake from exposing everything
- Multisig removes dependence on one key
- OpSec reduces who knows you are a target
- Physical security protects the one thing that restores everything
- Coercion planning limits what a single forced moment can cost you
Start with your biggest weakness. Fix that first.
Find out more on CryptKi Academy
-
How to manage your seed phrase
To back up, test, and protect your recovery phrase before adding more advanced layers. -
How to structure your crypto setup and reduce your exposure
To reduce single points of failure before moving to more advanced protection. -
Approvals and permissions: what you sign in DeFi
To understand the ongoing permissions that can still expose a wallet later. -
How to interact with DeFi safely
To reduce risk when connecting wallets and signing actions on external platforms. -
What is a crypto wallet?
To revisit the basics if you need a clearer mental model before adding complexity.
CryptKi Academy full index - Browse all articles
Glossary - Check the definition of all specific terms
Self-custody starts with the right setup.
Explore hardware wallets, seed phrase backups, and accessories designed to help protect your crypto access.