The CryptKi Guides
How to lend and borrow in DeFi
Opening 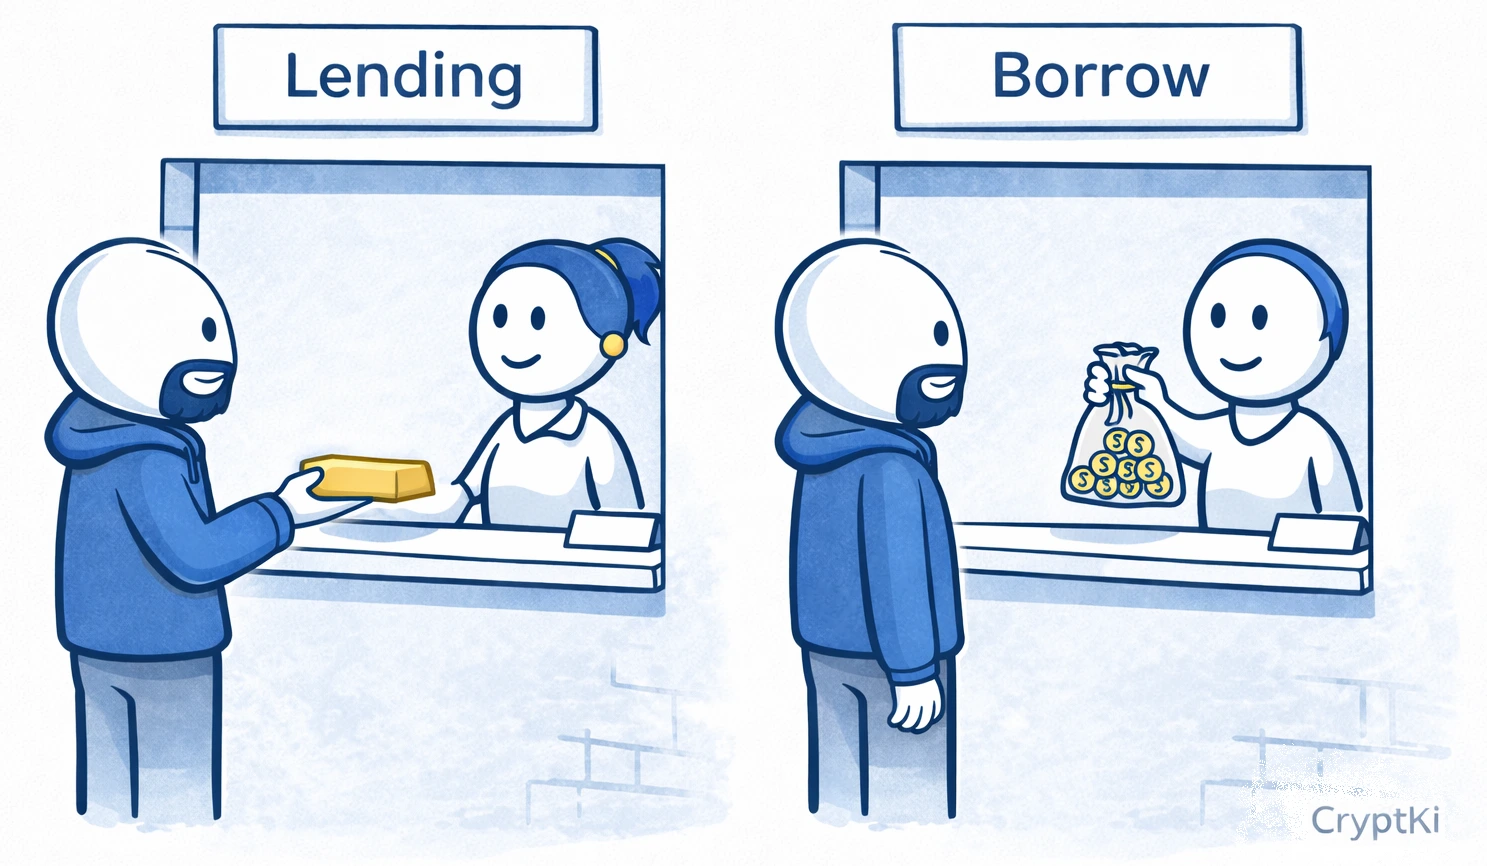
Closing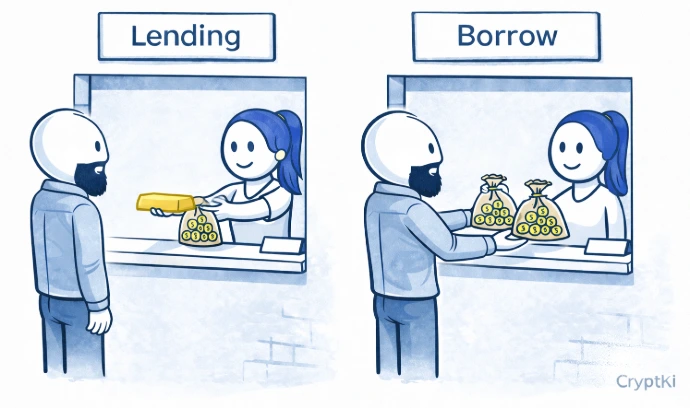
You open a DeFi app.
You see "Supply", "Borrow", "Earn", maybe "APY". A few clicks later, it looks like your crypto can either generate yield or unlock liquidity without being sold.
That is the promise.
What makes this tricky is that lending and borrowing in DeFi do not work like a savings account or a bank loan. There is no advisor, no validation, and no exception if your position becomes unsafe. The protocol applies its rules automatically.
This guide shows you how to lend and borrow in DeFi step by step, what to check before confirming, and where mistakes usually happen.
👉 If some of these concepts are still unclear, start here first:
→ How to interact with DeFi safely
→ Approvals and permissions: what you sign in DeFi
→ Smart contracts: what they are and why they matter
Know what you are trying to do
These two actions are related, but they are not the same thing.
Lending means depositing an asset into a protocol so that others can borrow it. You earn yield in return. Your asset is put to work, but you cannot use or move it while it is deposited.
Borrowing means locking an asset as collateral and taking out a loan against it. You receive another asset without selling what you hold. Your collateral, however, is exposed to liquidation if its value drops too far.
Lending and borrowing may appear in the same interface, but they do not carry the same risk.
For example: If you hold USDC and want to earn yield on it, you need to lend. If you hold ETH and want liquidity without selling it, you need to borrow using your ETH as collateral.
Many users mix both actions without realising it, and end up with risks they did not intend. Identify what you actually want to do before you open any application.
Choose a lending protocol
Some of the most widely used DeFi lending protocols include:
- Aave → https://app.aave.com
- Compound → https://app.compound.finance
- Spark → https://app.spark.fi
- Morpho → https://app.morpho.org
These interfaces allow you to deposit assets, borrow against collateral, and monitor your position. They may look similar, but they do not all behave the same way. Some support more assets. Some use different risk models. Some are deployed on multiple networks.
If you are starting out, choose a well-established protocol with high liquidity and a clear interface you understand at first glance.
Do not assume that "it looks the same" means "it works the same".
⚠️ Always access these apps from their official website. Fake interfaces exist and can steal funds or approvals.
Lending
Step 1. Open the app and verify the URL
Before connecting your wallet, check the URL carefully.
A fake DeFi interface can look identical to the real one. The difference may be a single character, "aave.com" versus "aavee.com". If you connect your wallet to the wrong site, you may approve access to your funds without realising it.
Go through the project's official website or verified communication channels. Do not trust links from search results or social media without checking first.
Step 2. Connect your wallet and select the correct network
Click "Connect" and select your wallet. Then check two things: the address you are using, and the network you are on (Ethereum, Arbitrum, Base, and so on).
👉 Example: your funds are on Arbitrum, but the interface is set to Ethereum. You will see a zero balance and may think something is broken. It is not. You are simply on the wrong network.
⚠️ Always verify the network before looking at balances or rates.
Step 3. Check supported assets and conditions
Each protocol supports specific assets with specific rules. Before depositing, check which assets can be supplied, which can be used as collateral, and which can be borrowed.
👉 Example: you deposit an asset thinking you can borrow against it later. But the protocol may allow deposits for yield without allowing that asset as collateral.
⚠️ "Available in the list" does not mean "usable for everything".
Step 4. Review the approval and confirm the deposit
Lending typically involves more than one wallet interaction, and they do not all mean the same thing.
The protocol may first ask you to approve token access. This gives the smart contract permission to use your tokens. It does not deposit them. Pay attention to the amount: the suggested approval is often set to the maximum the contract supports, which can be far more than your current deposit requires. Adjust it to match what you actually need.
After approval, the deposit transaction supplies your asset to the protocol. This is the step that records the action on the blockchain.
⚠️ Approvals remain active after the transaction. Review your active approvals periodically and remove the ones you no longer need.
Step 5. Understand what affects your yield
Yield in DeFi is dynamic. It depends on how much of the pool is currently being borrowed.
High borrowing demand pushes the rate up. Low demand pulls it back down.
👉 Example: you deposit stablecoins at 8% APY. Borrowing demand drops — your yield falls to 3%. Nothing broke. The market changed.
⚠️ Do not treat APY as a guaranteed return.
Step 6. Check that your funds are actually withdrawable
Do not assume you can withdraw instantly.
Availability depends on the protocol state. If most of the liquidity in a pool is currently borrowed, your withdrawal may fail or be delayed until enough liquidity becomes available.
👉 Example: you want to withdraw, but most of the liquidity is currently lent out. Your funds are there — but temporarily inaccessible until borrowers repay.
⚠️ "Supplied" does not always mean "immediately withdrawable".
Step 7. Start with a small amount on a new protocol
If this is your first time using a protocol, do not start with the full amount.
A small test deposit lets you verify that the interface behaves as expected, that the fees are reasonable, and that the asset received is the one you anticipated. Once a protocol has worked correctly with a small amount, your confidence is based on a real interaction, not on branding or assumptions.
Before borrowing: understand liquidation
Borrowing in DeFi means opening a position that can be closed against you automatically if your collateral loses value or your debt becomes too large. This is called liquidation.
Liquidation does not wait for your approval at the moment it happens. The protocol follows its rules. Before borrowing, make sure you understand the health factor, liquidation threshold, and how much room your position has before it becomes unsafe.
Borrowing
The flow is similar, but the risks are not. Borrowing introduces a different category of risk. You are not just putting an asset to work. You are opening a position that can be closed against you automatically if your collateral loses value.
Step 1. Open the app and verify the URL
The same rule applies as for lending: check the URL before connecting anything. A fake interface can steal funds or approvals before you realise something is wrong.
Use the same verification process: official website, verified communication channels, no links from messages or search results.
Step 2. Connect your wallet and select the correct network
Connect your wallet and confirm both the address you are using and the network. A wrong network will show incorrect balances and misleading borrowing capacity.
Step 3. Deposit collateral
Select the asset you want to use as collateral and deposit it into the protocol. On some protocols you will also need to explicitly enable it as collateral in the dashboard after depositing.
Your borrowing power depends on the value of the collateral you supply and how much of that value the protocol allows you to borrow.
Step 4. Never borrow near the maximum
The interface shows a maximum borrowable amount. This is not a recommendation — it is a limit.
👉 Example: you deposit $1,000 in ETH. Maximum borrow: $700. If you borrow $690, even a small drop in ETH price can put you at risk. If you borrow $300, you have a meaningful safety margin.
⚠️ The closer you are to the limit, the higher the liquidation risk.
Step 5. Understand liquidation before it happens
If your collateral drops too much in value, the protocol will automatically sell part of it to repay the loan. There is no confirmation step.

But the same risk applies from the other direction. If the asset you borrowed rises sharply in value, your debt becomes worth more relative to your collateral, and your health factor falls just the same.
Most interfaces show a risk indicator called a health factor. It represents how close your position is to liquidation. A health factor close to 1 means your position is approaching the threshold. Below 1, liquidation can begin.
Lending protocols also rely on price feeds to evaluate collateral. If a price feed behaves unexpectedly, positions can be affected even if you did nothing.
👉 Example: you deposit ETH and borrow a token worth $300. That token rises to $600. Your debt has doubled in value. Your ETH collateral has not moved. Your health factor drops — and liquidation becomes possible.
Monitor your position regularly, especially during volatile market conditions. Watch both the price of your collateral and the price of what you borrowed.
⚠️ Do not ignore the health factor. It is one of the most important signals on the screen, and the system acts on it automatically.
Step 6. Pay attention to variable interest rates
Borrow rates are not fixed. They change depending on demand in the pool.
A position that looks affordable today may become more expensive later if demand increases.
👉 Example: you borrow at 4%. Demand increases — the rate rises to 10%. Your position is still open, but it is now more expensive to maintain.
⚠️ A safe collateral ratio does not protect you from rising borrowing costs.
Step 7. Review the approval and confirm the borrow
Like other DeFi actions, borrowing may involve more than one wallet step depending on the protocol and the asset involved. A message signature proves control of the address — nothing moves. A token approval grants the smart contract permission. The borrow transaction executes the loan.
Read each wallet prompt individually before confirming.
Step 8. Know how to exit your position
Before entering, understand how to exit.
To recover your collateral, you must first repay the loan, partially or in full, depending on how much you want to withdraw. If the asset you borrowed has changed in price since you borrowed it, your repayment amount may differ from what you received.
👉 Example: you borrowed USDC using ETH as collateral. To withdraw your ETH, you must first return the USDC you borrowed, plus any accrued interest.
⚠️ Many users understand how to enter a position. Fewer understand what it takes to exit one cleanly.
How it works in practice
You open Aave. You connect your wallet on Arbitrum. You deposit 1 ETH.
The interface shows you can borrow up to $700. You decide to borrow $300 in USDC, well below the maximum, to keep a meaningful safety margin. You approve the transaction, then confirm the borrow.
Your ETH is now locked as collateral. You hold USDC. Your position has a health factor and is exposed to ETH price changes. If ETH drops significantly, your health factor falls and liquidation risk increases. If you want your ETH back, you must repay the USDC first.
Nothing here adapts to your intentions. The system only reacts to your position.
A note on taxation
Borrowing in DeFi is often not considered a taxable event in itself. You deposit collateral. You borrow against it. At that point, no asset has been sold or converted.
But what you do with the borrowed assets can change that.
👉 Example: you deposit ETH as collateral and borrow stablecoins. If you convert those stablecoins into euros and withdraw to your bank account, this may be treated as a taxable event depending on your country.
This is where many users get confused. They think they are "just borrowing", but from a tax perspective, they are effectively turning crypto into usable money.
⚠️ Tax rules vary significantly between countries. Before using borrowed funds outside DeFi, make sure you understand how these operations are treated where you live.
The most common mistakes
Most problems come from simple misunderstandings made under normal conditions.
Users borrow too close to the maximum limit. They ignore variable interest rates until they become a problem. They confuse which assets can be used as collateral and which cannot. They do not understand how liquidation works until it happens. They approve more than necessary. And many enter a position without knowing how to exit it cleanly.
Stablecoins can reduce volatility, but they are not risk-free. A peg is the value a stablecoin is supposed to track, usually one unit of a fiat currency such as 1 USD or 1 EUR. If a stablecoin loses its peg, meaning its market value falls below the asset value it is supposed to represent, both lending and borrowing positions can be affected.
These are ordinary mistakes. That is why they are dangerous.
A final note
DeFi protocols evolve constantly.
Interfaces change, smart contracts are upgraded, risks emerge, and protocol rules may differ from what is described here.
Before signing or approving anything, always verify how the protocol currently works through official documentation and trusted sources.
If you do not fully understand what you are approving, do not approve it.
And never rely on a single source when the consequences are irreversible.

Key takeaways
- Lending means supplying assets to earn yield. Borrowers pay for the right to use them
- Borrowing requires locking collateral. Your collateral is at risk if its value drops
- Maximum borrow is a limit, not a safe target
- Liquidation happens automatically, with no confirmation step
- Interest rates on both sides can change at any time
- Approvals and transactions are different steps. Read each one separately
- Borrowing itself is often not a taxable event, but what you do with borrowed funds can be
Find out more on CryptKi Academy
-
How to interact with DeFi safely
To understand the broader logic of wallet connections, approvals, and confirmations. -
Approvals and permissions: what you sign in DeFi
To understand why approvals matter long after the transaction is done. -
Smart contracts: what they are and why they matter
To understand what you are interacting with when you confirm a transaction. -
Wrong network or wrong chain: common mistakes
To see how assets can be sent correctly to the wrong place.
CryptKi Academy full index - Browse all articles
Glossary - Check the definition of all specific terms
Every transaction depends on the wallet behind it.
Explore hardware wallets, seed phrase backups, and accessories that support safer self-custody habits.