The CryptKi Guides
How to swap and bridge assets safely
Swapping often looks simple. You choose the token you have, the token you want, confirm, and a few seconds later your balance has changed.
A bridge can look almost the same. You select a source network, a destination network, an amount, and click continue.
That apparent simplicity is exactly where the risk begins.
A swap is not just about changing one token into another. A bridge is not just about moving assets across chains. Price, liquidity, slippage, routing, wrapped assets, bridge security, confirmations, and fake interfaces can all matter before you confirm anything.
This guide focuses on these two actions specifically. Not on DeFi as a whole, but on what you need to understand and check when you swap or bridge, in the order you will encounter it.
👉 If some of these concepts are still unclear, start here first:
→ How to interact with DeFi safely
→ Approvals and permissions: what you sign in DeFi
→ Crypto transactions: how they work
Know what you are trying to do
These two actions are related, but they are not the same thing. Getting this wrong before you open any application usually leads to wrong expectations and avoidable mistakes.
A swap changes one asset into another on the same network.
A bridge moves an asset from one network to another.
If you hold USDC on Arbitrum and want ARB on Arbitrum, you need a swap.
If you hold ETH on Ethereum and want ETH on Arbitrum, you need a bridge.
Some interfaces combine both actions in a single flow, which can make the process feel seamless. That does not remove the fact that different risks are involved at each stage.
Identify the action correctly before you open anything. A wrong mental model here leads to wrong expectations at every step that follows.
Swapping assets
Step 1. Open the application and verify the URL
Open the swap interface you want to use. Before anything else, check the URL.
Fake versions of legitimate swap interfaces exist specifically to steal funds. A domain can look correct at normal reading speed while being slightly different — "l" replaced by "1", "o" replaced by "0", "rn" instead of "m". The interface may look identical to the real one.
Go through the project's official website or verified communication channels. Do not trust search results or links shared on social media or in messages without checking first.
Some wallets help here by showing whether a site is recognized, how frequently it has been used, or whether it has been flagged. These signals are useful, but they are not a guarantee. A familiar name does not guarantee a legitimate site.
Step 2. Connect the correct wallet and address
Click "Connect" and select your wallet. If your wallet manages more than one address, confirm that the correct one is active before connecting. The application will interact with the address you expose to it — not the one you had in mind.
Once connected, your public address is visible to the application. It can read your balances and transaction history. Nothing has moved. The connection itself is not an action.
⚠️ If you use a hardware wallet, the software acts as the interface and the hardware device signs. That improves key protection, but it does not remove the need to understand what you are approving.
Step 3. Select the network and the assets
Before entering any amount, confirm three things: the network you are on, the asset you are spending, and the asset you want to receive.
For lesser-known tokens, do not rely only on the ticker or logo. Verify the token contract address from an official source.
On many interfaces, the default network may not be the one where your funds are located. If you proceed without checking, the balances shown, the fees displayed, and the routes available will all be based on the wrong chain.
👉 Example: your funds are on Base, but the interface opens on Ethereum by default. You enter an amount. The interface shows an insufficient balance warning. You assume something is wrong with the protocol. In reality, you are simply on the wrong network.
Always verify the network label before looking at amounts or quotes.
Step 4. Understand what affects your execution
A swap is not just about changing token A into token B. It is also about how well that exchange is executed. Three concepts determine this.
Liquidity is what allows your order to be absorbed without distorting the price too much. Deep liquidity means smoother execution. Thin liquidity makes the trade more fragile and the outcome less predictable.
Price impact is the effect your own trade has on the market price. The larger your trade relative to available liquidity, the more the price moves against you as your order fills.
Slippage is the tolerated difference between the quoted price and the actual execution price. Markets move between the moment a quote is shown and the moment a transaction confirms. Slippage defines how much deviation you accept before the transaction fails rather than executes at a worse price.
Very high slippage can also expose you to worse execution than expected.
👉 Example: you want to swap a token with limited liquidity. The quoted amount looks acceptable. But your trade is large relative to the pool. As it executes, the price moves against you, price impact increases, and the amount you receive is worse than shown.
When an interface shows warnings such as "high price impact," "low liquidity," or "slippage may need adjustment," these are not decorative messages. They are telling you the trade is less stable than it appears.
⚠️ If price impact is already high on a small amount, the problem is the market, not the interface. Proceeding with a larger amount will make it worse.
Step 5. Consider using an aggregator
You do not always need to choose a single DEX manually. Aggregators compare routes across multiple protocols and find the best execution available at that moment. They can reduce cost, improve output, or access liquidity that a single protocol would not provide on its own.
This is especially useful when liquidity is fragmented across different pools.
👉 Example: you expect a simple swap from one token to another, but the aggregator routes through intermediate assets to find better pricing. The result is more complex than it looks, but it can also be meaningfully better than a direct swap on a single DEX.
The goal is not to use an aggregator blindly. The goal is to understand why the route exists. If the route looks unusually complex, pause and ask why before approving it.
Tools such as DefiLlama’s swap aggregator can compare routes across multiple aggregators and protocols. Use it as a comparison tool, not as proof that a route is risk-free.
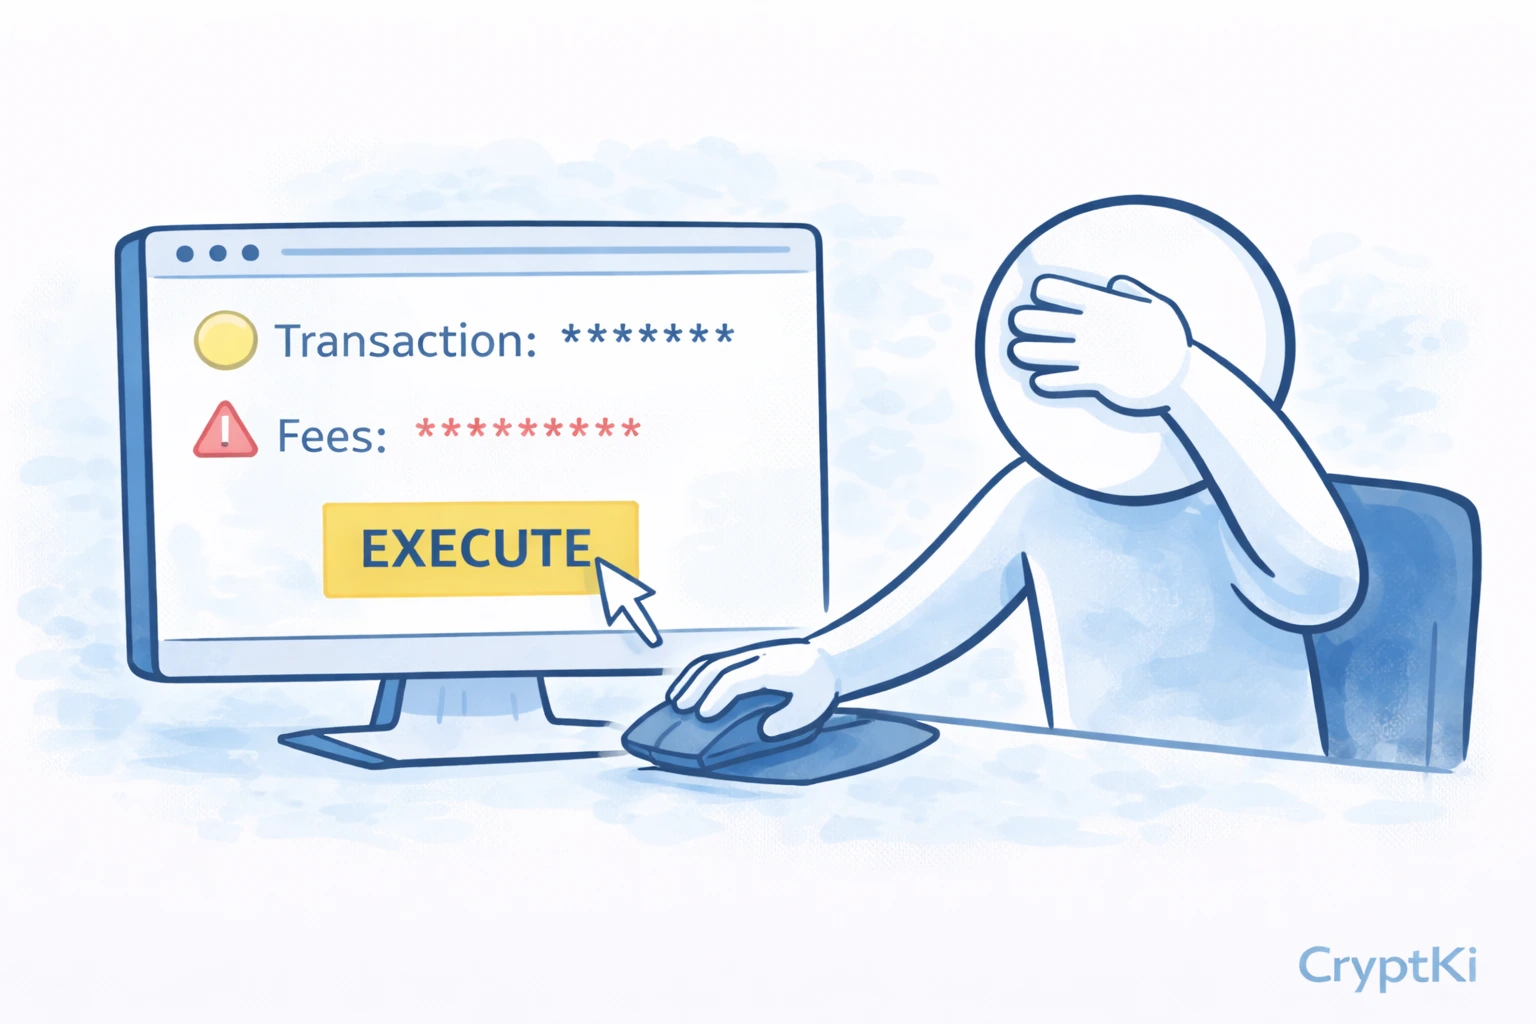
Step 6. Review the approval and the transaction
A swap typically involves more than one wallet interaction, and they do not all mean the same thing.
The protocol may first ask you to sign a message. This proves control of the address. Nothing moves.
It will then likely ask you to approve token access. This gives the smart contract permission to use your tokens. It does not execute the swap. Pay close attention to the amount: the suggested approval is often set to the maximum the contract supports, which can be far more than your current trade requires. Adjust it to match what you actually need.
After approval, the transaction itself executes the swap on-chain. This is the step that records the action permanently on the blockchain.
These three steps look similar in your wallet. They are not. Read each one before confirming.
⚠️ Approvals remain active after the transaction. If you approved a contract and never revoked it, that permission still exists. Review your active approvals periodically and remove the ones you no longer need.
Step 7. Start with a small amount on a new protocol
If this is your first time using a protocol, do not start with the full amount.
A small test swap lets you verify that the interface behaves as expected and that the fees are reasonable. It also confirms that the asset received is the one you anticipated, and that the wallet prompts make sense before you commit more.
Once a protocol has worked correctly with a small amount, your confidence is based on a real interaction — not on branding or assumptions.
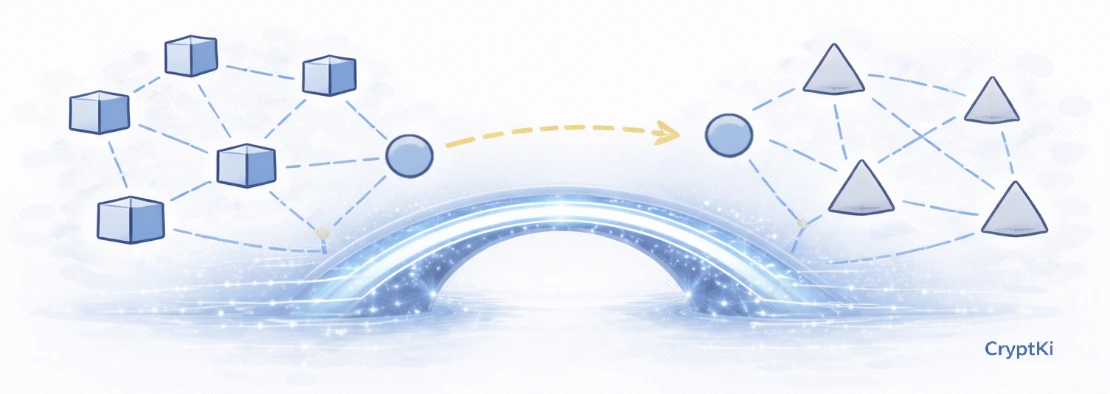
Bridging assets
A bridge moves assets from one network to another. The flow looks similar to a swap, but it introduces a different category of risk that deserves specific attention.
Step 1. Open the bridge and verify the site
The same rule applies as for swaps: check the URL before connecting anything.
Fake bridge interfaces are particularly dangerous because bridges handle significant value and operations take longer to complete, leaving less time to notice something is wrong.
Use the same verification process: official website, verified communication channels, no links from messages or search results.
Step 2. Select source and destination networks carefully
A bridge has two sides: where the funds come from, and where they should arrive.
Verify both the source network and the destination network explicitly. Then verify the asset on each side.
When possible, understand whether you are using an official bridge, a third-party bridge, or an aggregator. They do not carry the same assumptions.
Some bridges support several versions of an asset on the destination chain. The token you receive may not be in a native form — it may be a wrapped or represented version that depends on the bridge remaining functional and trusted.
👉 Example: you bridge USDC from Ethereum to another chain. On the destination, you receive a version labeled "USDC" but issued by the bridge protocol itself. It trades under the same name but carries different assumptions. If the bridge is compromised, that asset is at risk.
This does not mean bridges should never be used. It means the asset you receive is not always identical to the one you sent — and that matters for how you use it later.
⚠️ Bridges have historically been a major target for attacks because they concentrate value and complexity in the same place. Treat them as part of your risk model, not just part of the route.
Step 3. Check fees and timing on both sides
Bridges involve fees on the source network to initiate the transaction, and sometimes require the native coin on the destination network to use the funds once they arrive.
That second point is easy to miss. Your bridged assets may arrive correctly, but if you have no native coin on the destination network, you cannot execute any further transaction with them.
👉 Example: you bridge funds to a new network and they arrive as expected. You then try to swap them or move them further, but you have no native coin to pay the fee on that network. Your funds are accessible but temporarily unusable until you acquire some.
Before bridging, confirm that you either already hold some native coin on the destination network, or have a plan to get some once you arrive.
Bridge transfers also take time. Unlike a swap, which usually confirms in seconds, some bridges take minutes or longer. Do not initiate a bridge if you need the funds immediately on the other side.
Step 4. Review the approval and confirm
The same sequence applies as with swaps: a possible message signature, a token approval, and then the transaction. Read each wallet prompt individually before confirming.
For bridges, pay particular attention to the destination address. Some interfaces auto-fill it from your connected wallet. Others allow you to specify a different address. Verify it explicitly.
Once the transaction is confirmed on the source network, the bridge process has started. You cannot reverse it.
Step 5. Verify arrival on the destination network
After the bridge transaction confirms on the source side, switch your wallet to the destination network and check whether the funds have arrived.
If nothing appears after a reasonable time, do not assume the funds are lost. Use a blockchain explorer on the destination network to search for your address. Most bridge interfaces also provide a transaction tracker where you can follow the status of your transfer.
👉 Example: you bridge ETH from Ethereum to Arbitrum. After a few minutes, your wallet shows zero on Arbitrum. You check the bridge tracker and see the transaction is still being processed. A few minutes later, it arrives.
A delay is not the same as a failure. Check the status before taking any other action.
The most common mistakes
Most failures in swaps and bridges are not exotic. They come from moving too quickly through a familiar-looking interface.
Users select the wrong network, bridge when they meant to swap or the reverse, ignore slippage or price impact warnings, approve more than necessary, or receive a wrapped asset without realizing it. Others use a fake application that looks identical to the real one, or commit a full amount to a protocol they have never tested before.
These are ordinary mistakes made in normal conditions. That is why they are dangerous.
A final note
DeFi protocols evolve constantly.
Interfaces change, smart contracts are upgraded, risks emerge, and protocol rules may differ from what is described here.
Before signing or approving anything, always verify how the protocol currently works through official documentation and trusted sources.
If you do not fully understand what you are approving, do not approve it.
And never rely on a single source when the consequences are irreversible.
Key takeaways
- A swap happens on one network. A bridge moves assets across networks. These are not the same action.
- Always verify the URL before connecting — fake interfaces exist for both swaps and bridges
- Check the network before the amount — the interface may default to the wrong chain
- Liquidity, price impact, and slippage all affect how well a swap executes
- Approvals and transactions are different steps — read each one separately
- Bridged assets may be wrapped versions — understand what you are receiving
- Check that you have native coin on the destination network before you bridge
Find out more on CryptKi Academy
-
How to interact with DeFi safely
To understand the broader logic of wallet connections, approvals, and confirmations. -
Approvals and permissions: what you sign in DeFi
To understand why approvals matter long after the transaction is done. -
Wrong network or wrong chain: common mistakes
To see how assets can be sent correctly to the wrong place. -
Crypto transactions: how they work
To understand what confirmations mean and why finality takes time.
CryptKi Academy full index - Browse all articles
Glossary - Check the definition of all specific terms
Every transaction depends on the wallet behind it.
Explore hardware wallets, seed phrase backups, and accessories that support safer self-custody habits.